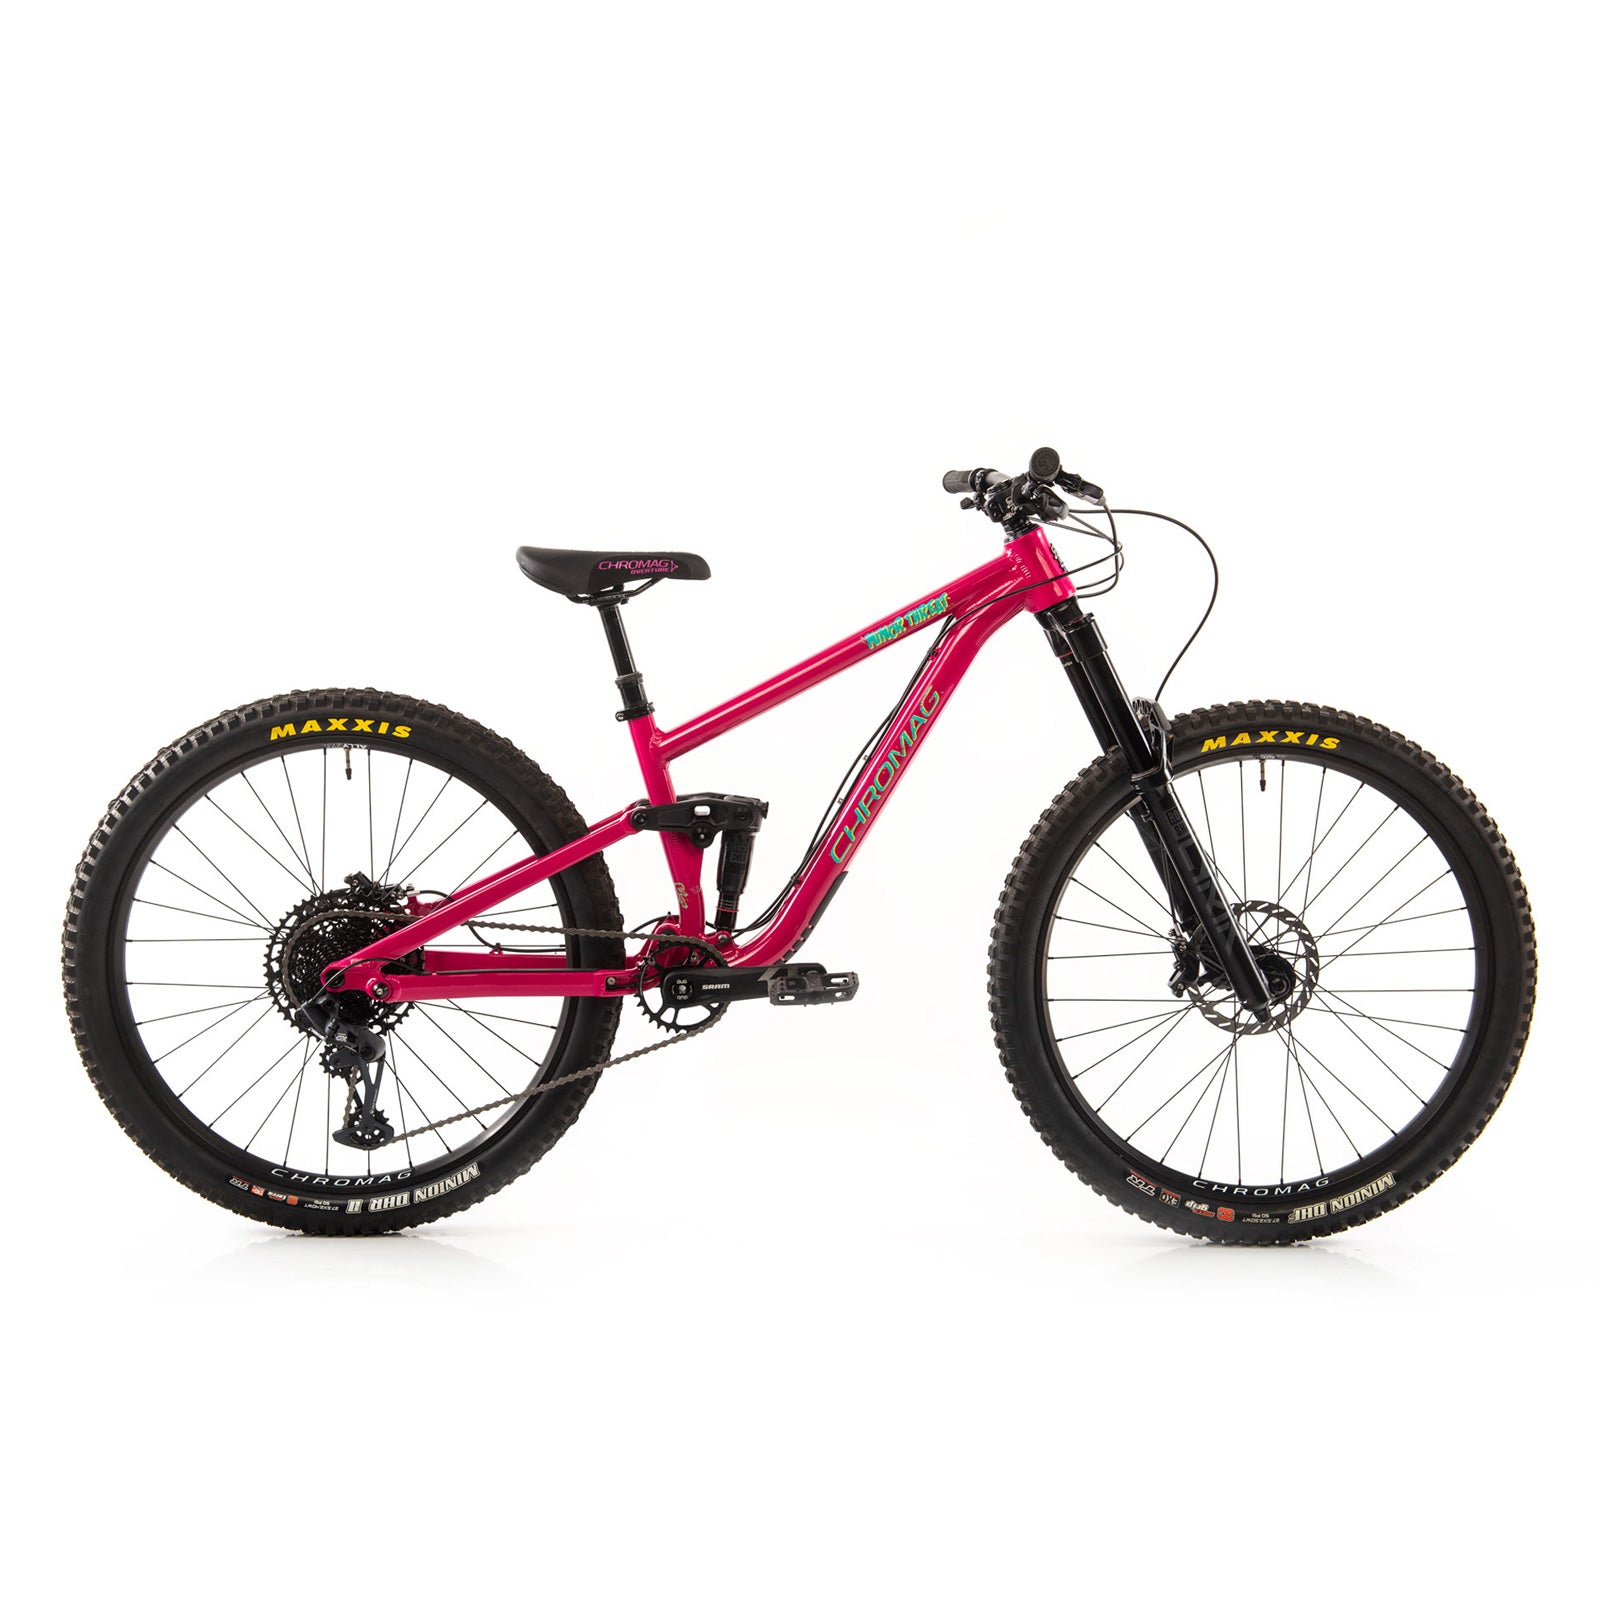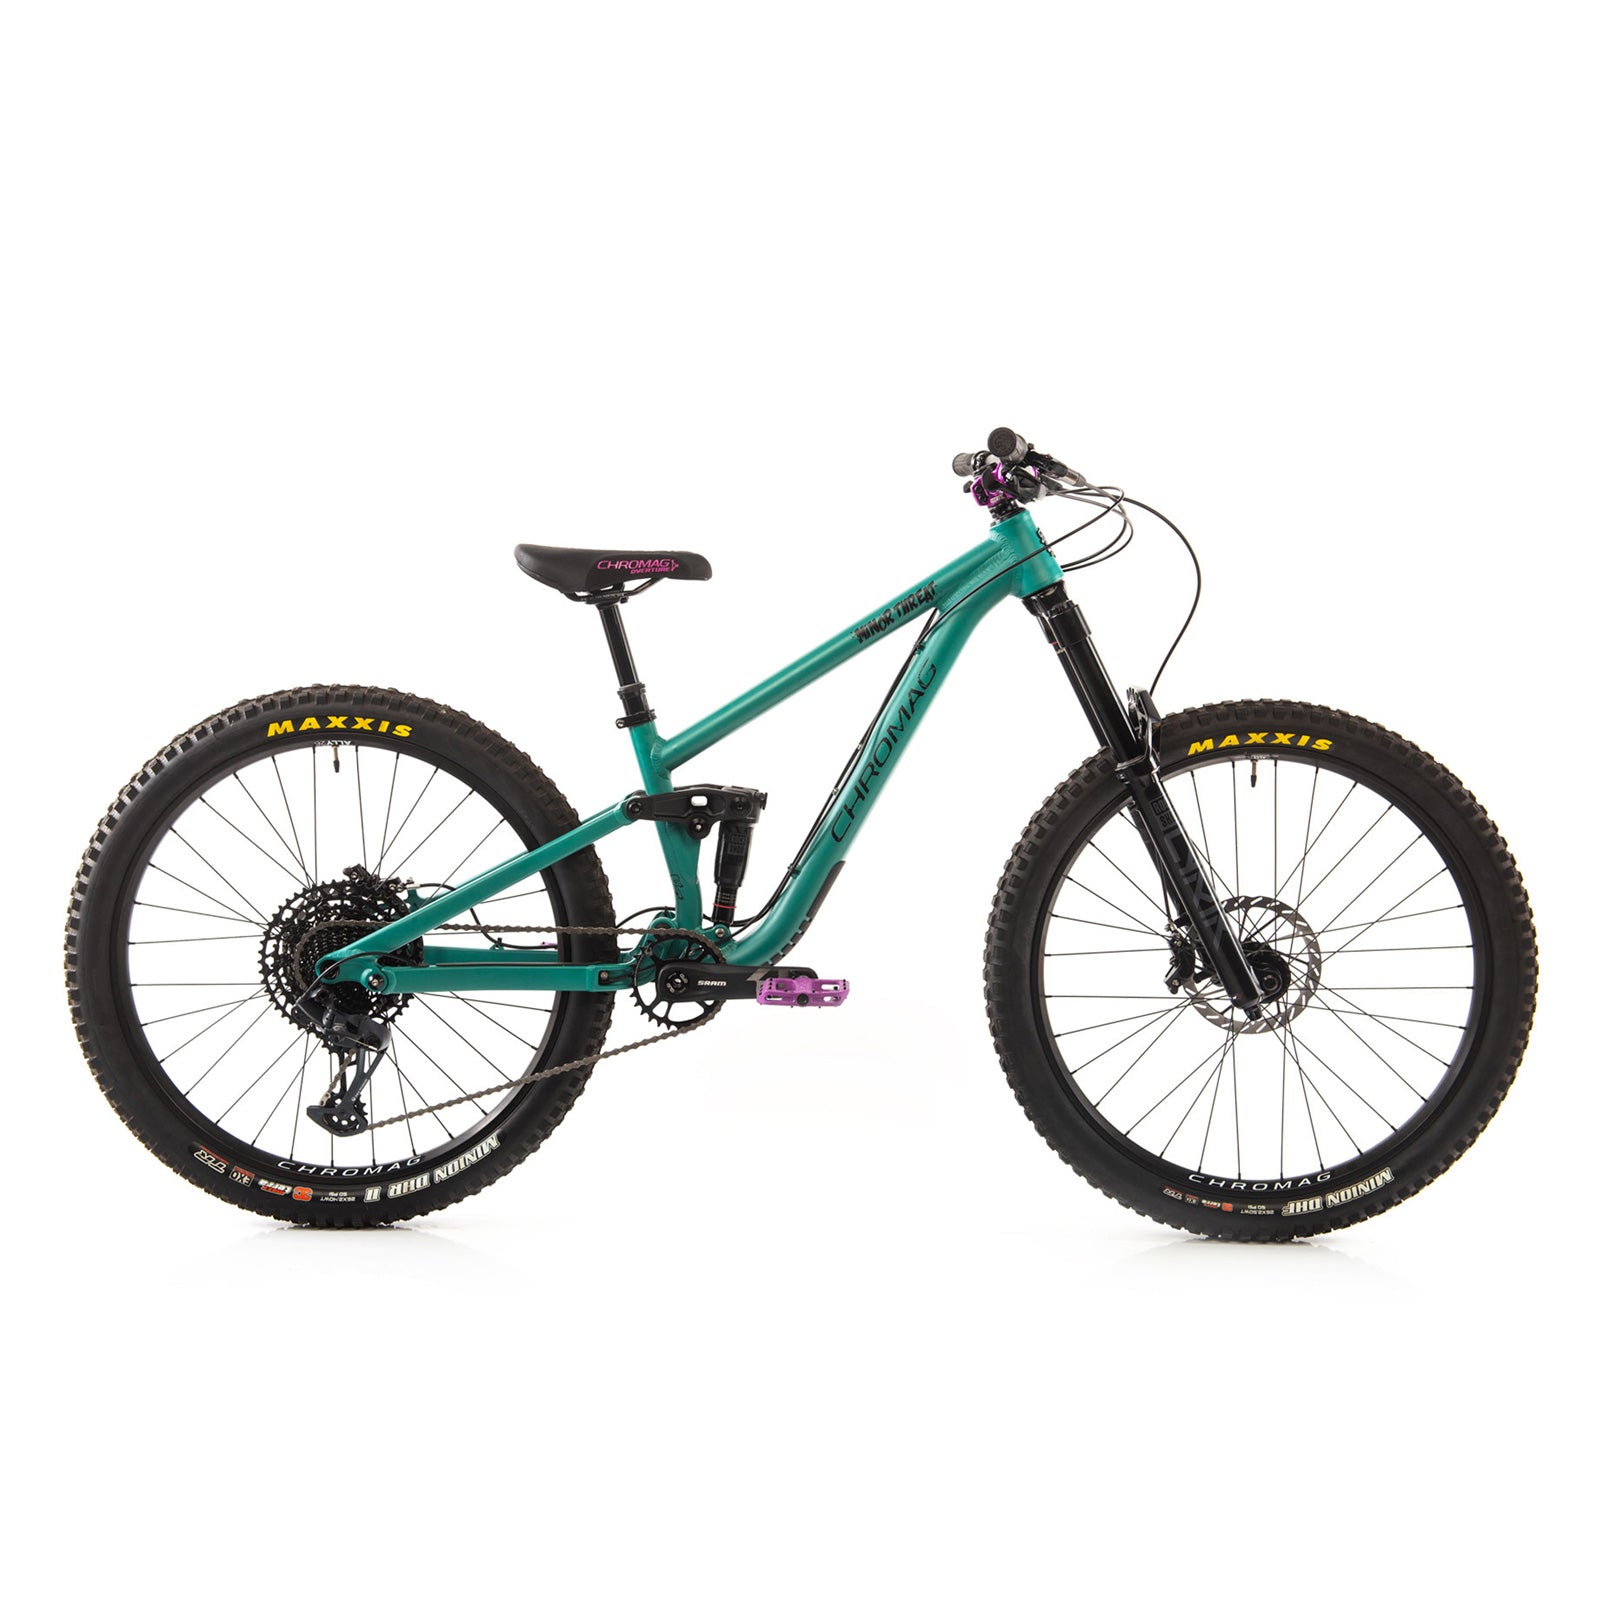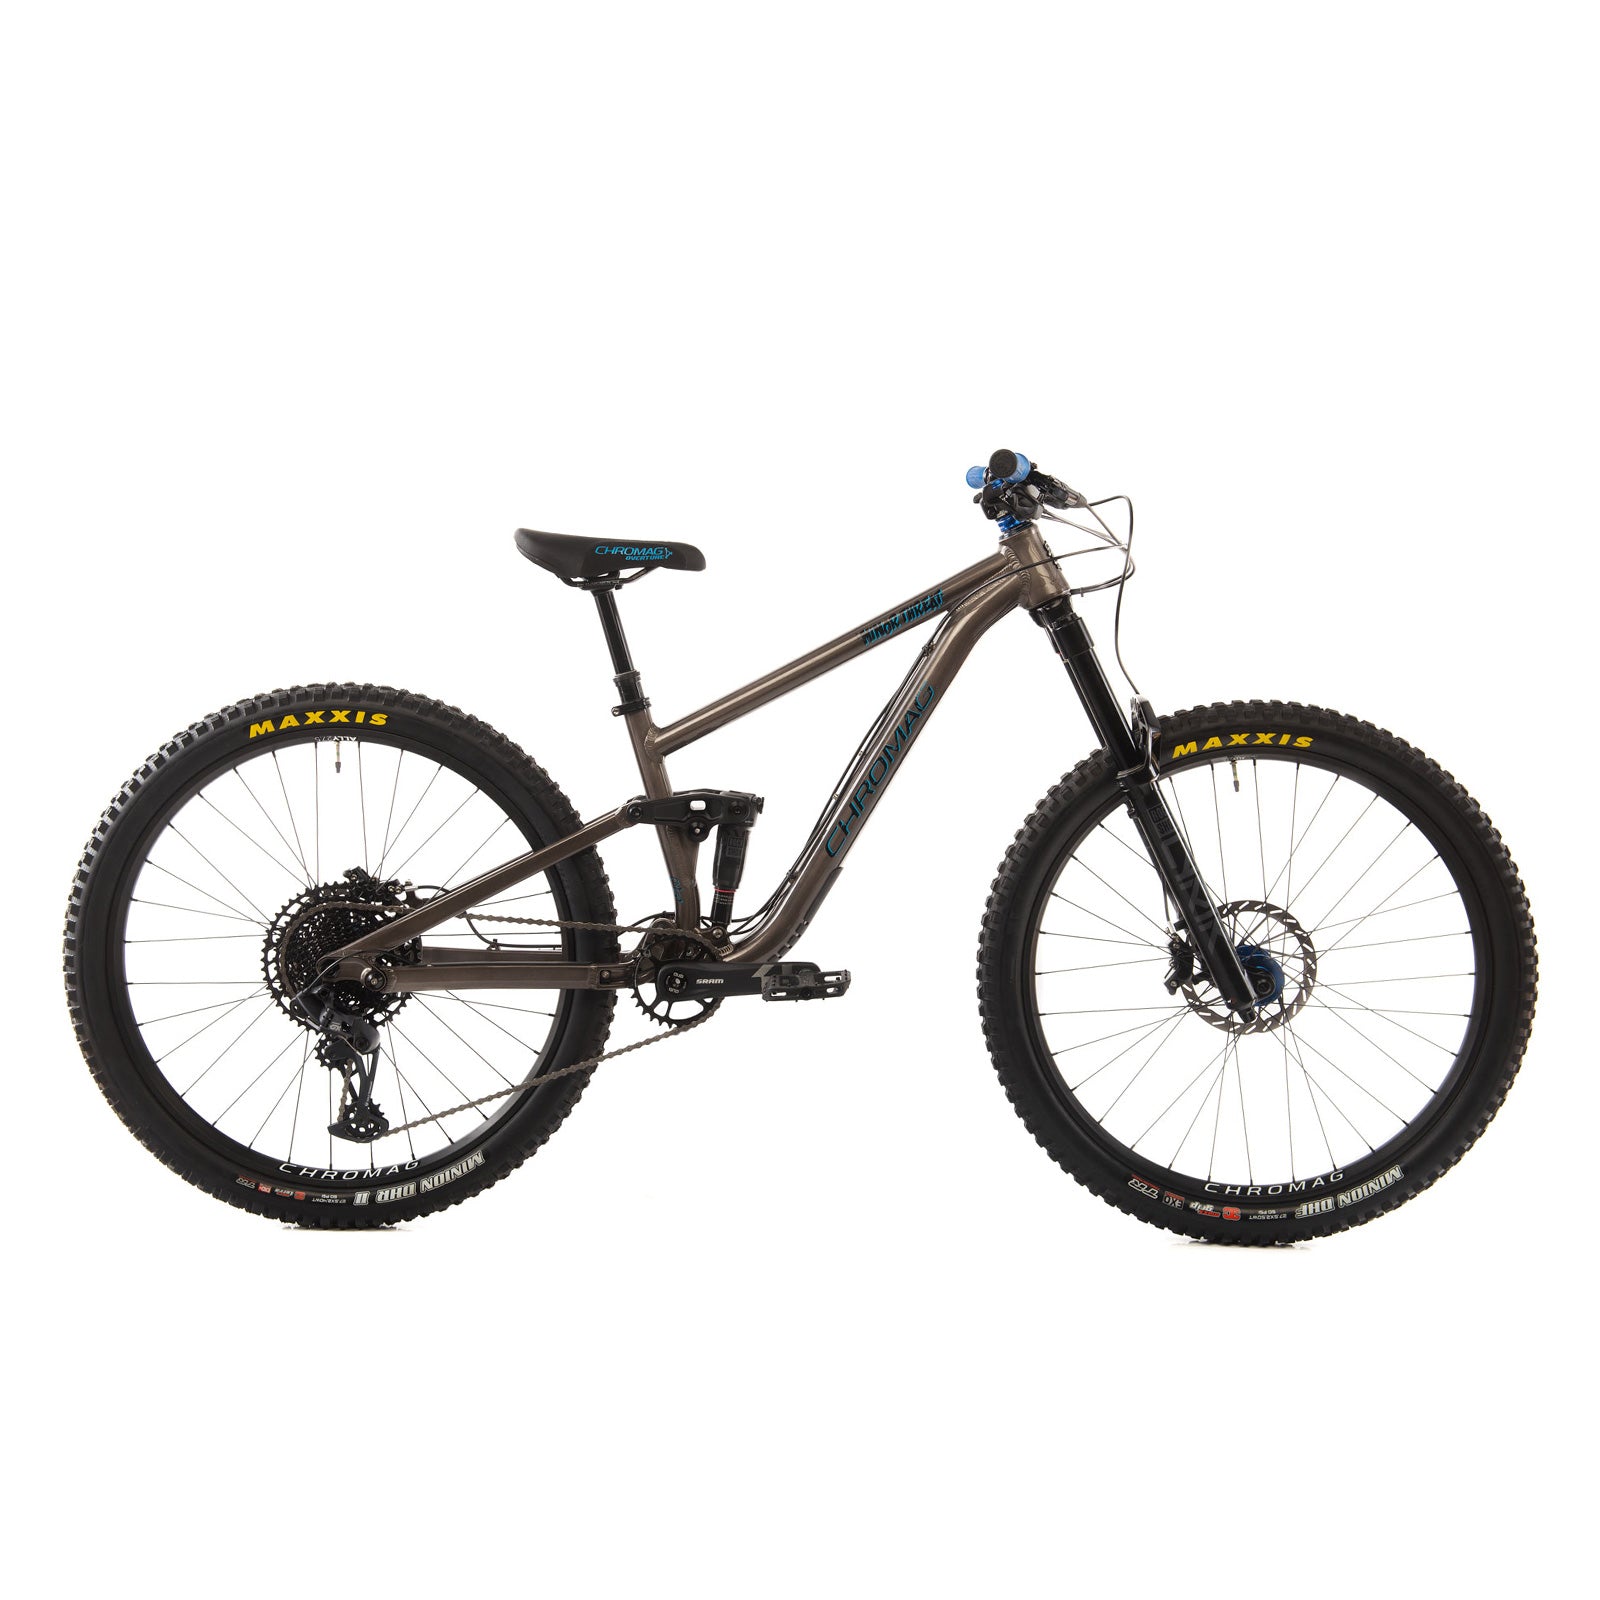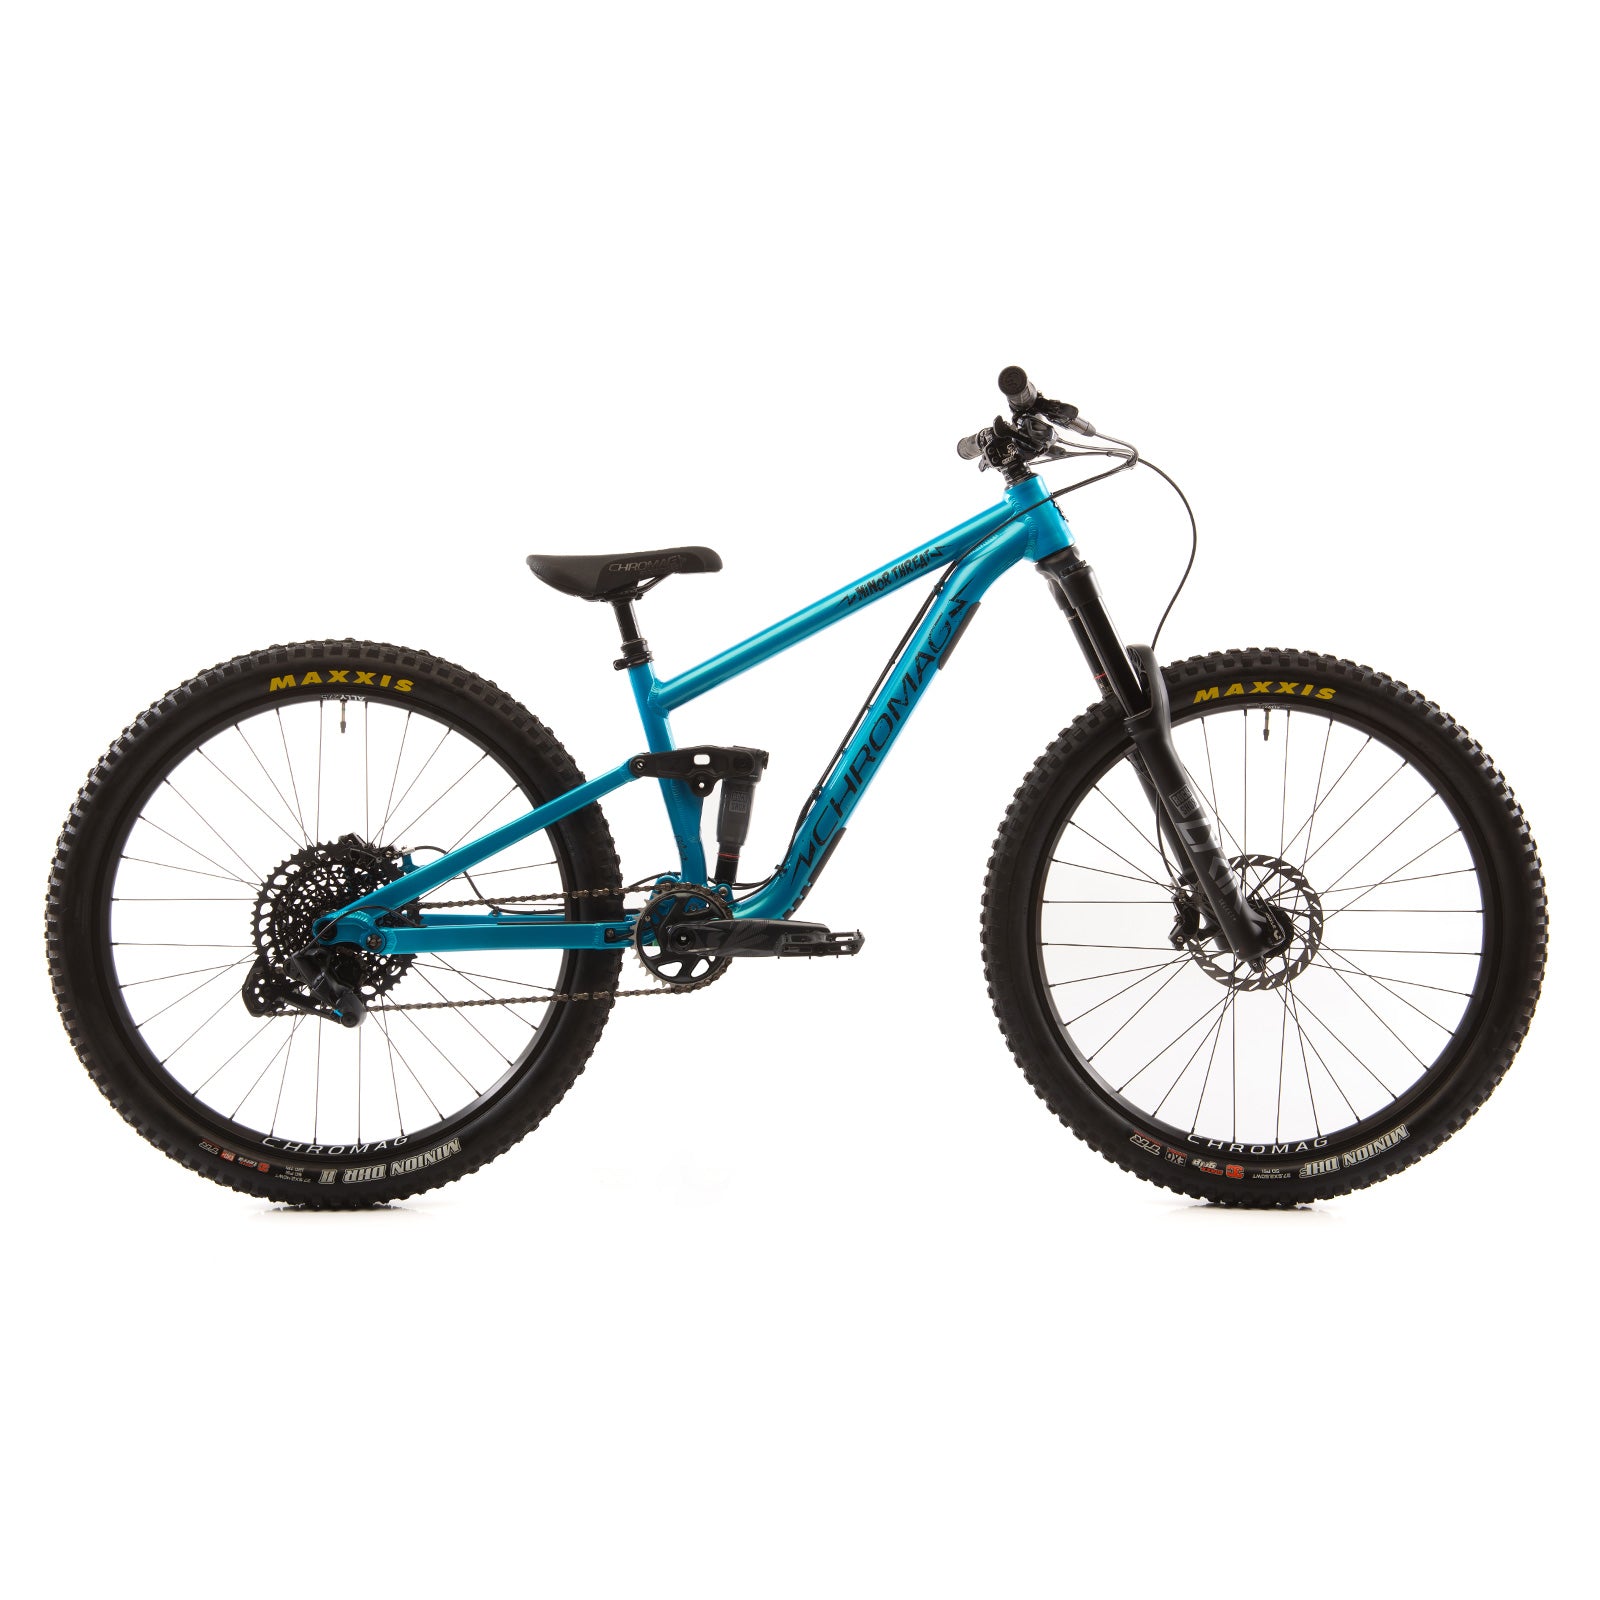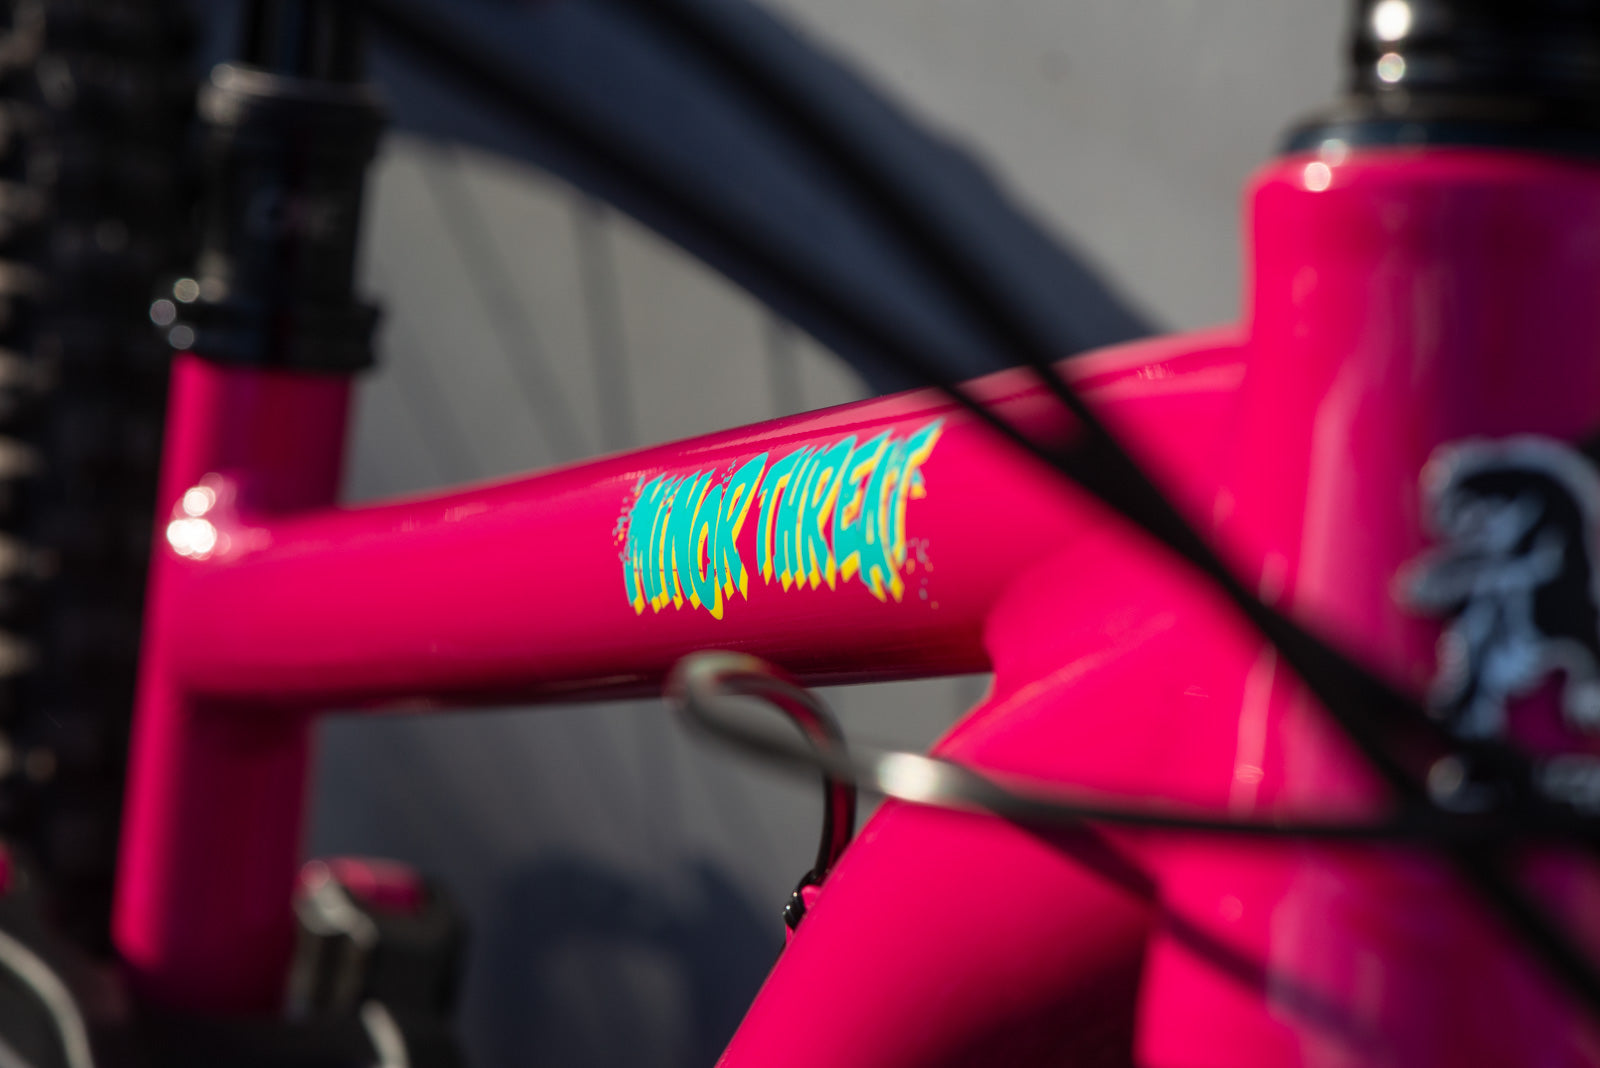
Kids that Shred
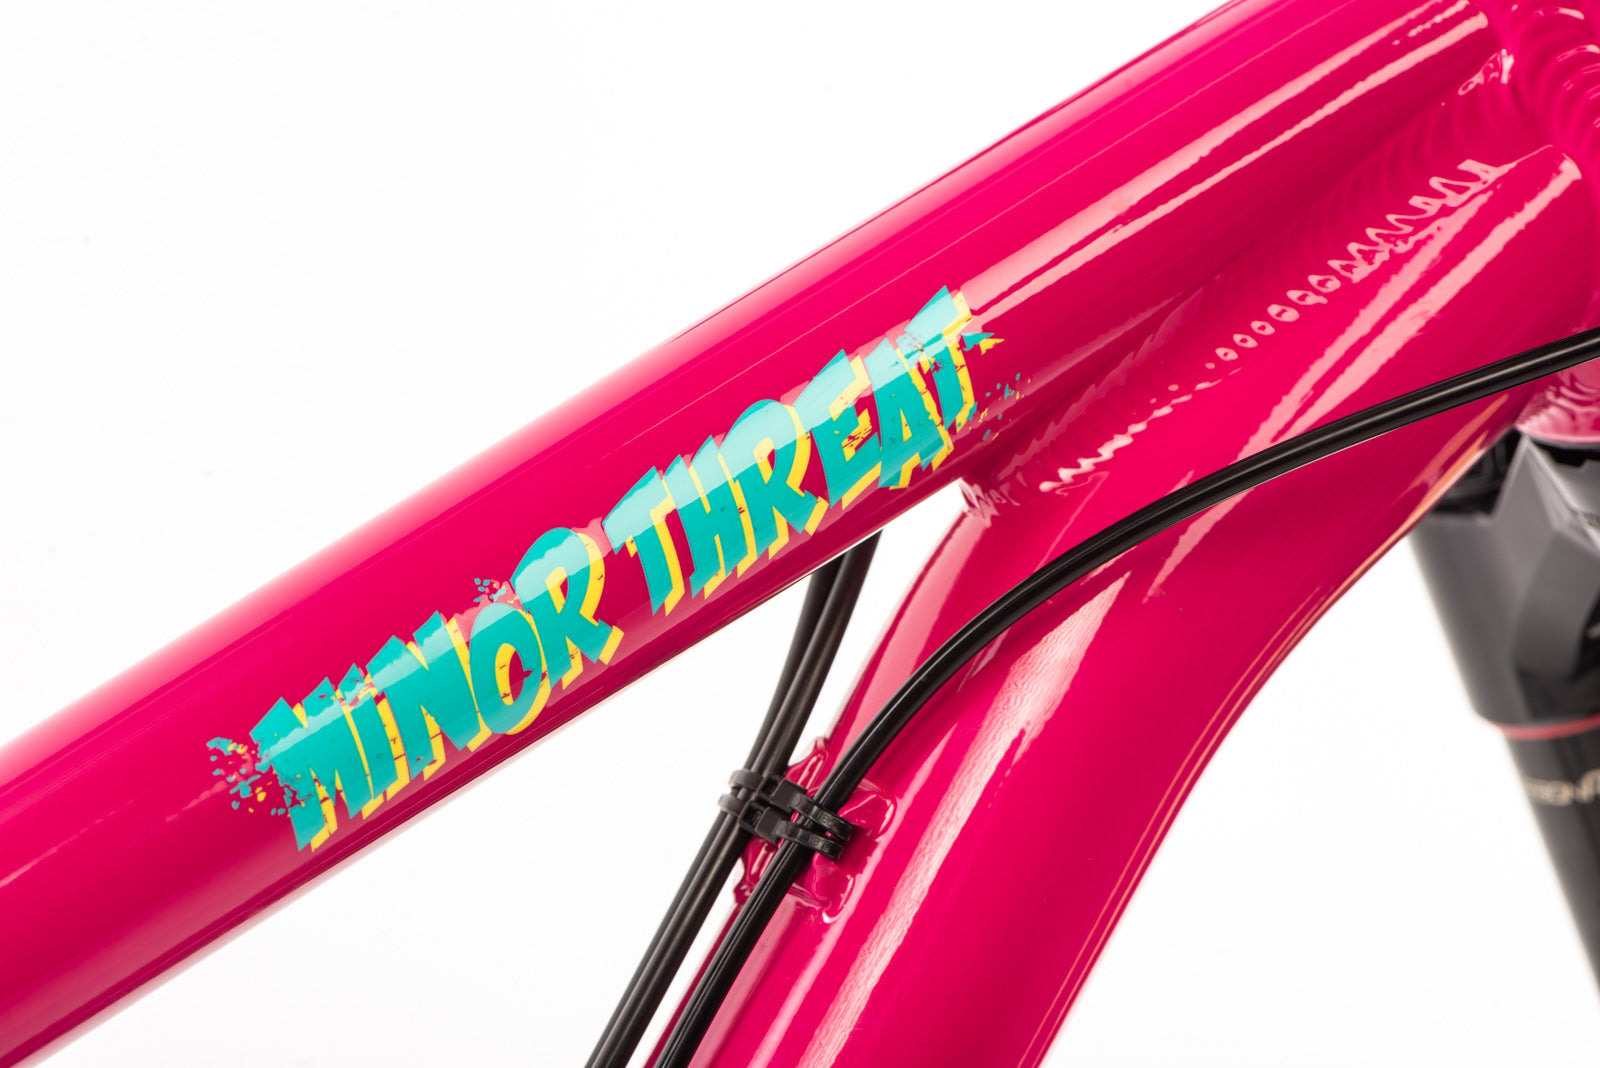
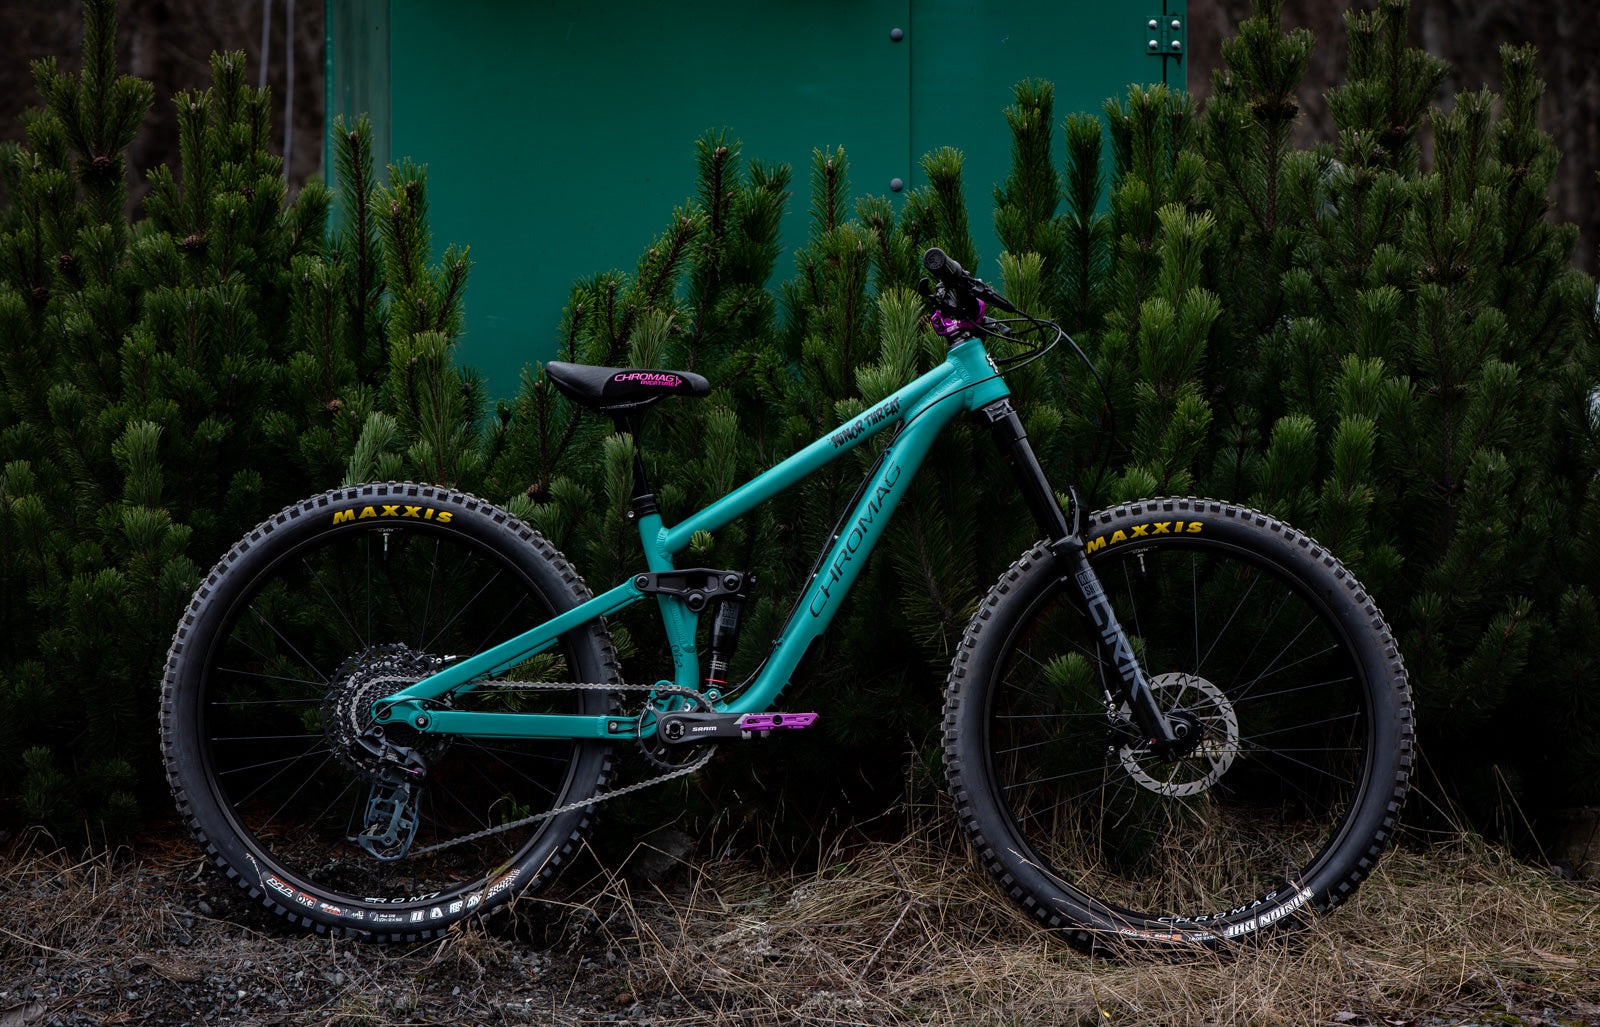
Minor Threat V2
150mm or 140mm
140mm
24", 26" or 27.5"
Aluminum
3 Year Warranty
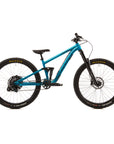
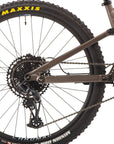
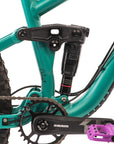
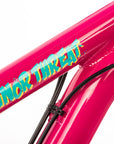
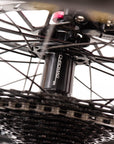
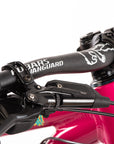
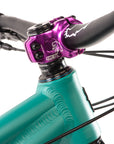
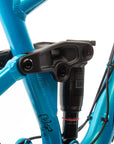
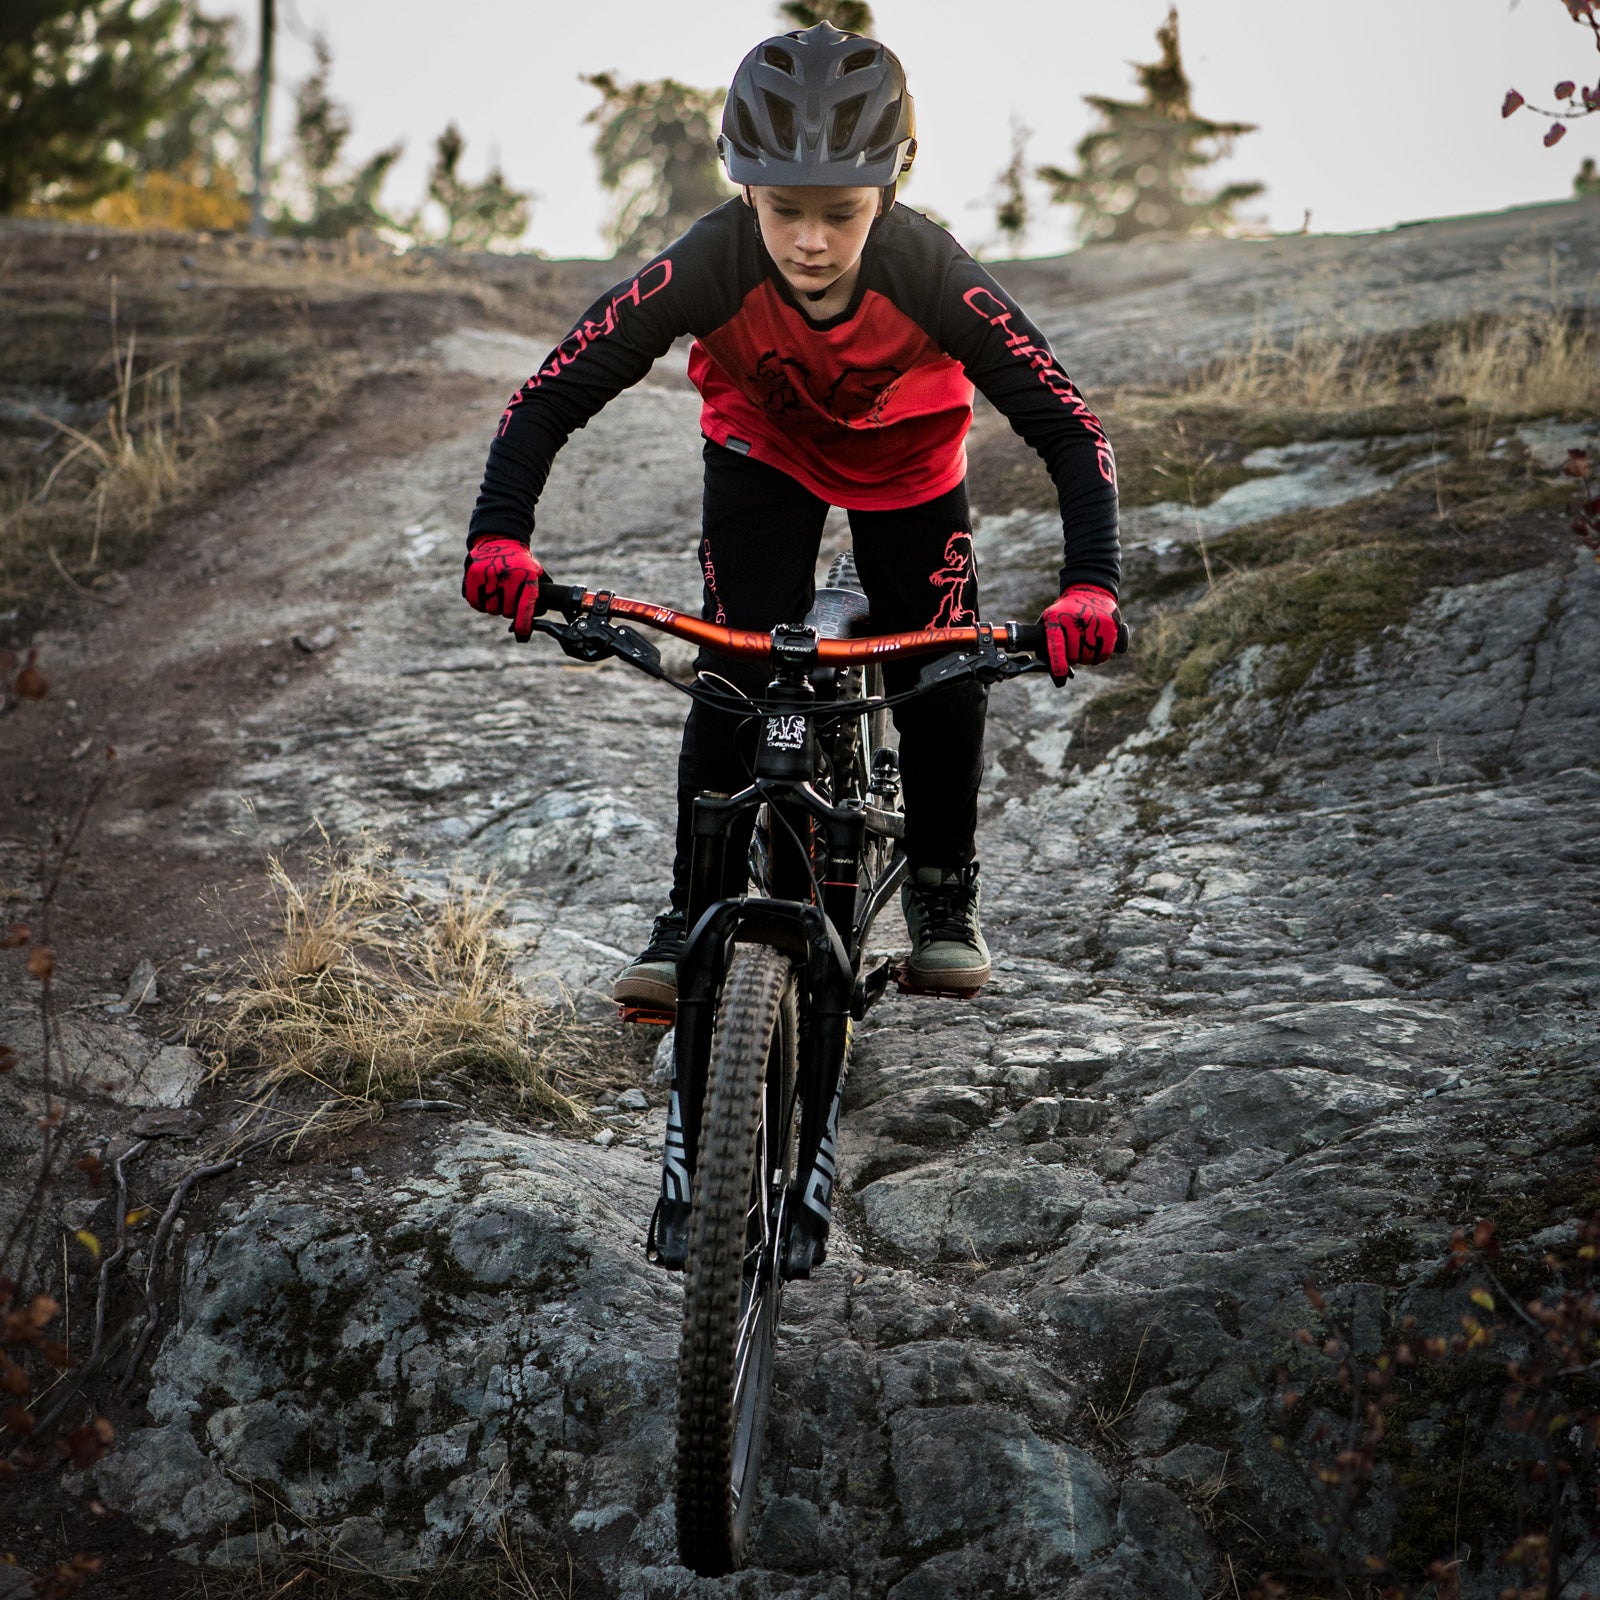
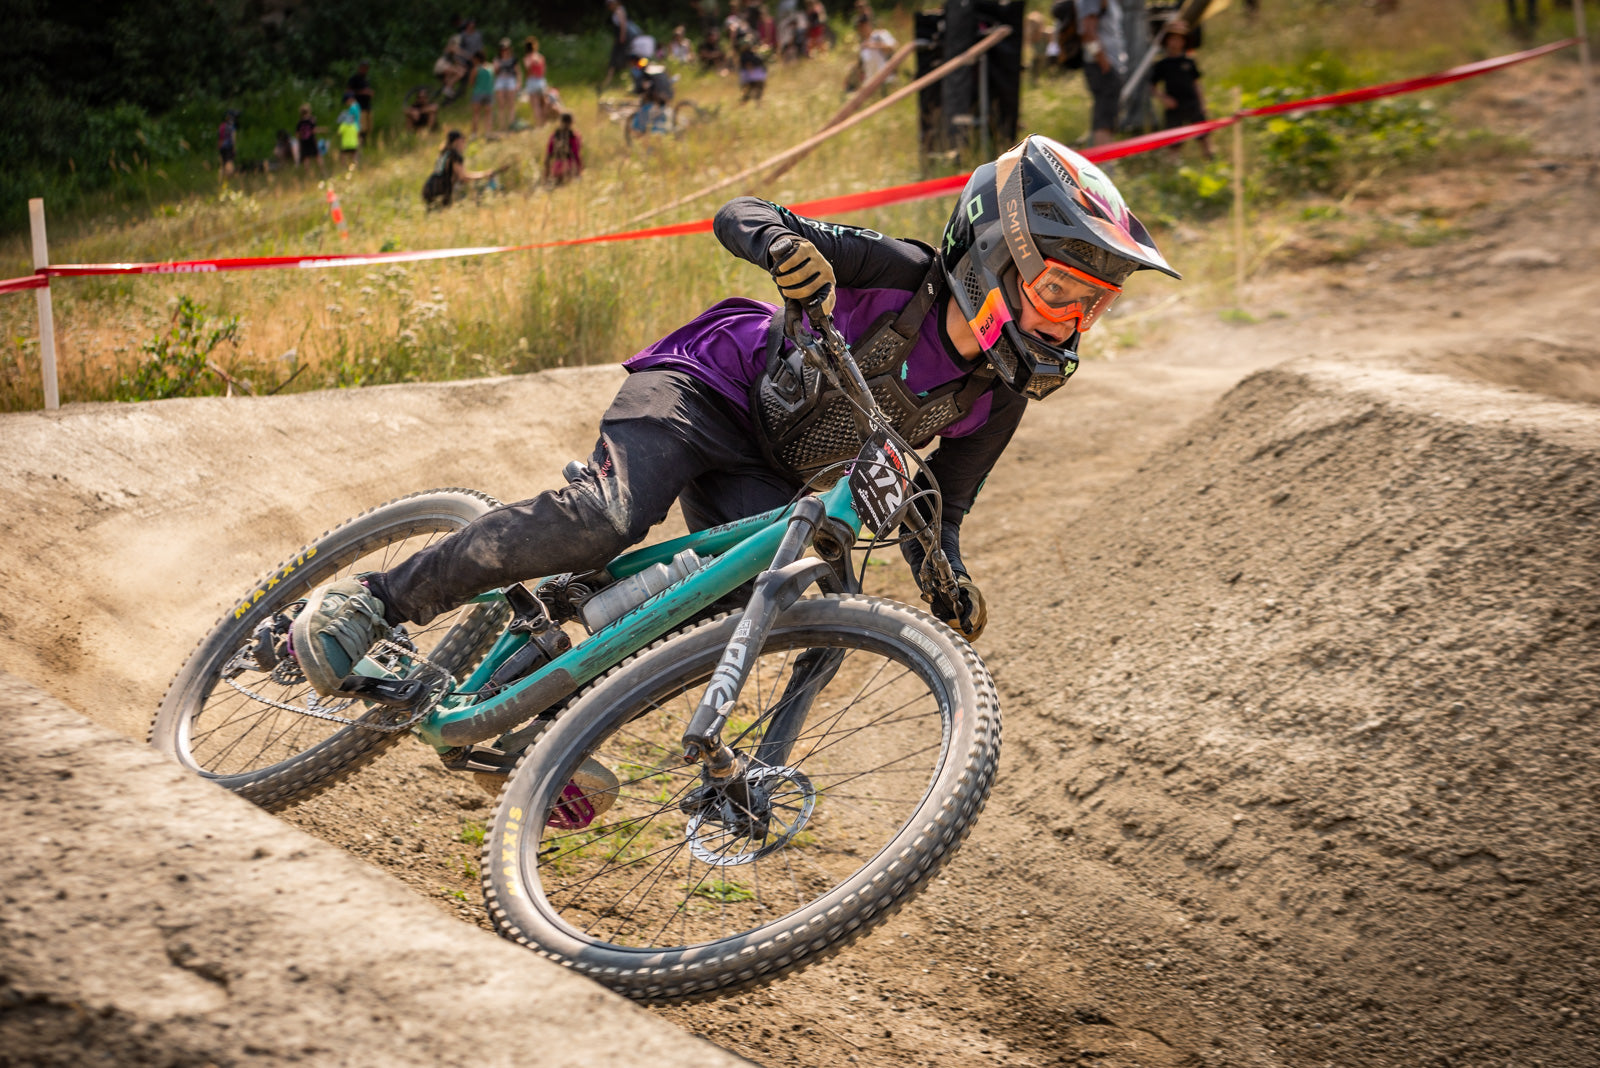
Young riders deserve equipment that matches their ambition. The Minor Threat V2 is engineered for kids who ride hard and demand real performance from their mountain bike.
Why Parents and Young Riders Choose the Minor Threat V2:
- Built for Progression: 140mm rear travel and 140-150mm fork travel handle everything from flow trails to technical descents
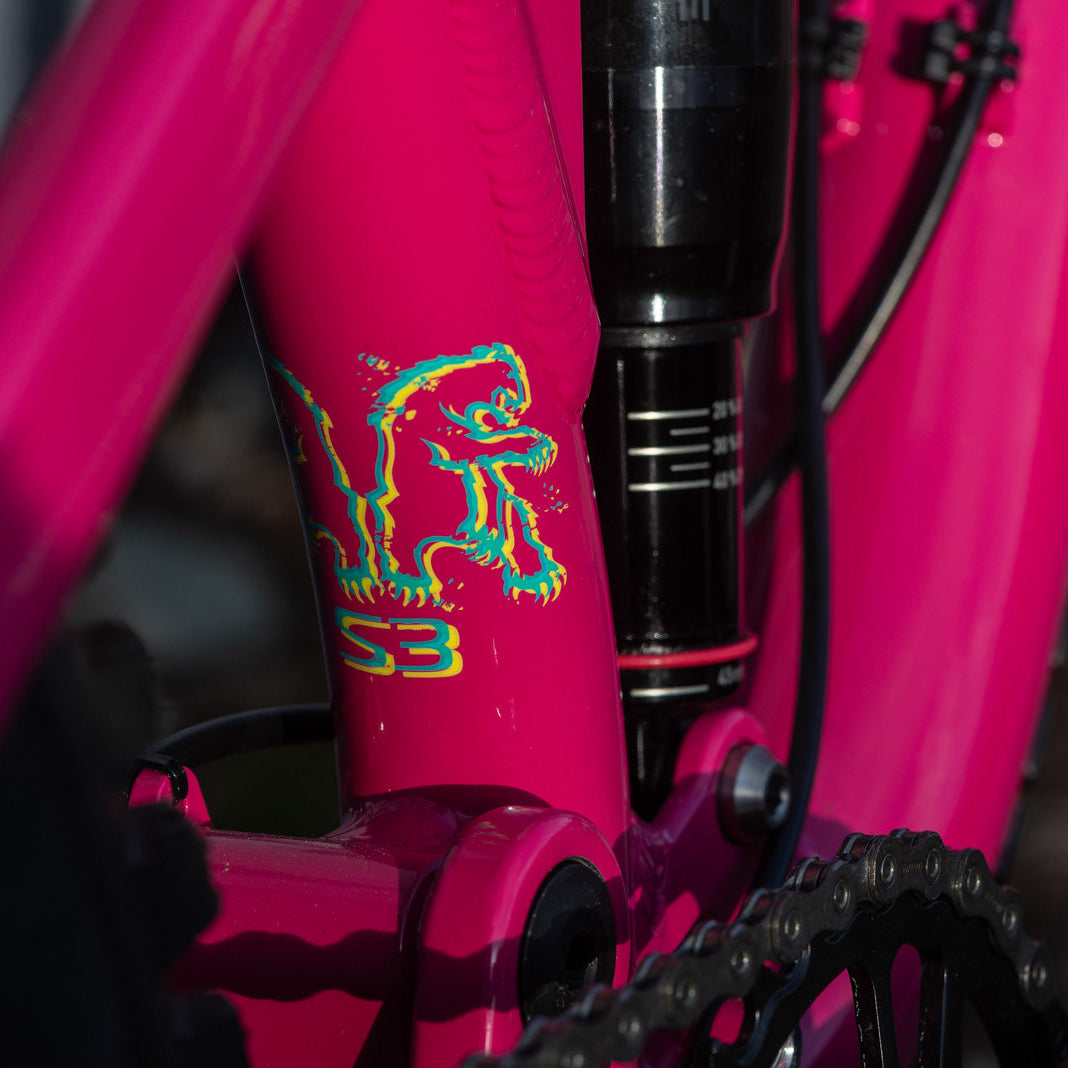
- Grows With Your Rider: Available in three sizes with 24" (S1), 26" (S2), or 27.5" (S3) wheels
- Durability That Lasts: Designed to withstand the unique demands young riders place on their equipment
- Real Mountain Bike Performance: Full-suspension design delivers control and confidence on challenging terrain
- Refined V2 Design: Improved geometry and tweaks based on real-world feedback from the original Minor Threat
Technical Specifications:
- Rear Travel: 140mm
- Fork Travel: 140-150mm
- Wheel Size Options: 24", 26", 27.5"
- Weight: 2.88kg (frame)
Designed and tested by Chromag Bikes, the Minor Threat V2 represents our commitment to building bikes that young riders can truly grow with, not grow out of.
Builds & Specs
• Fork // Rock Shox Reba 26”, 140mm
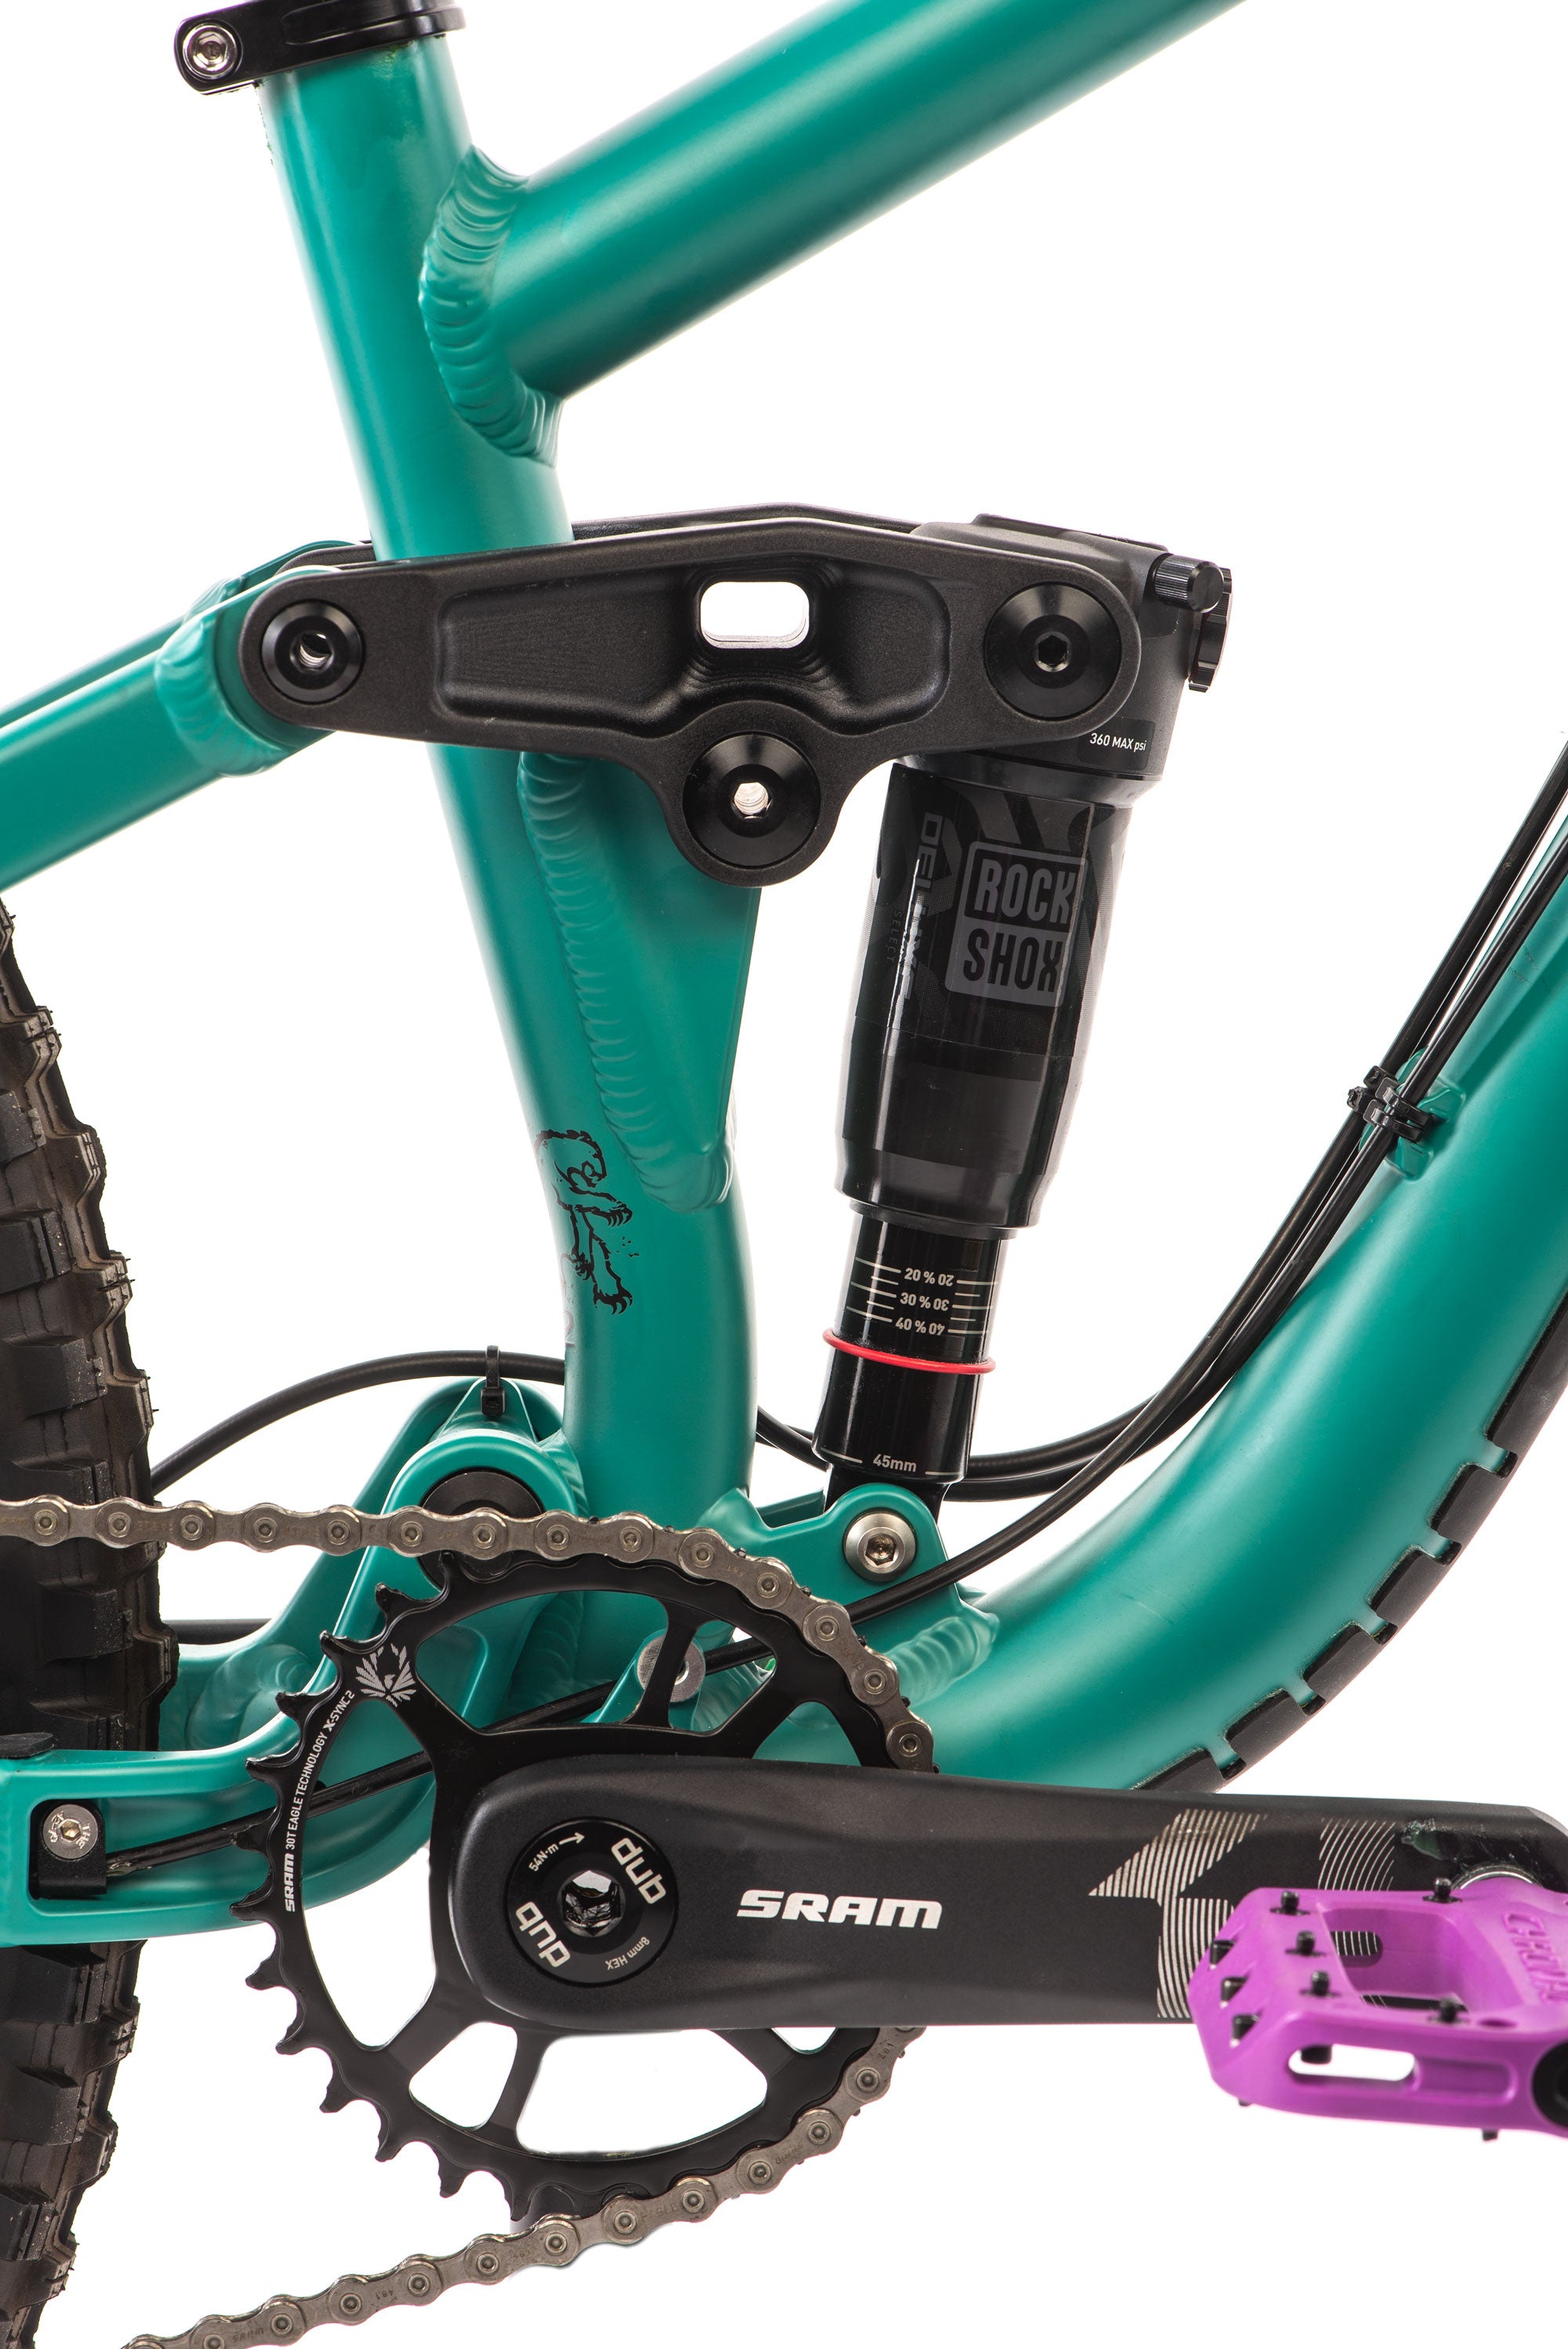
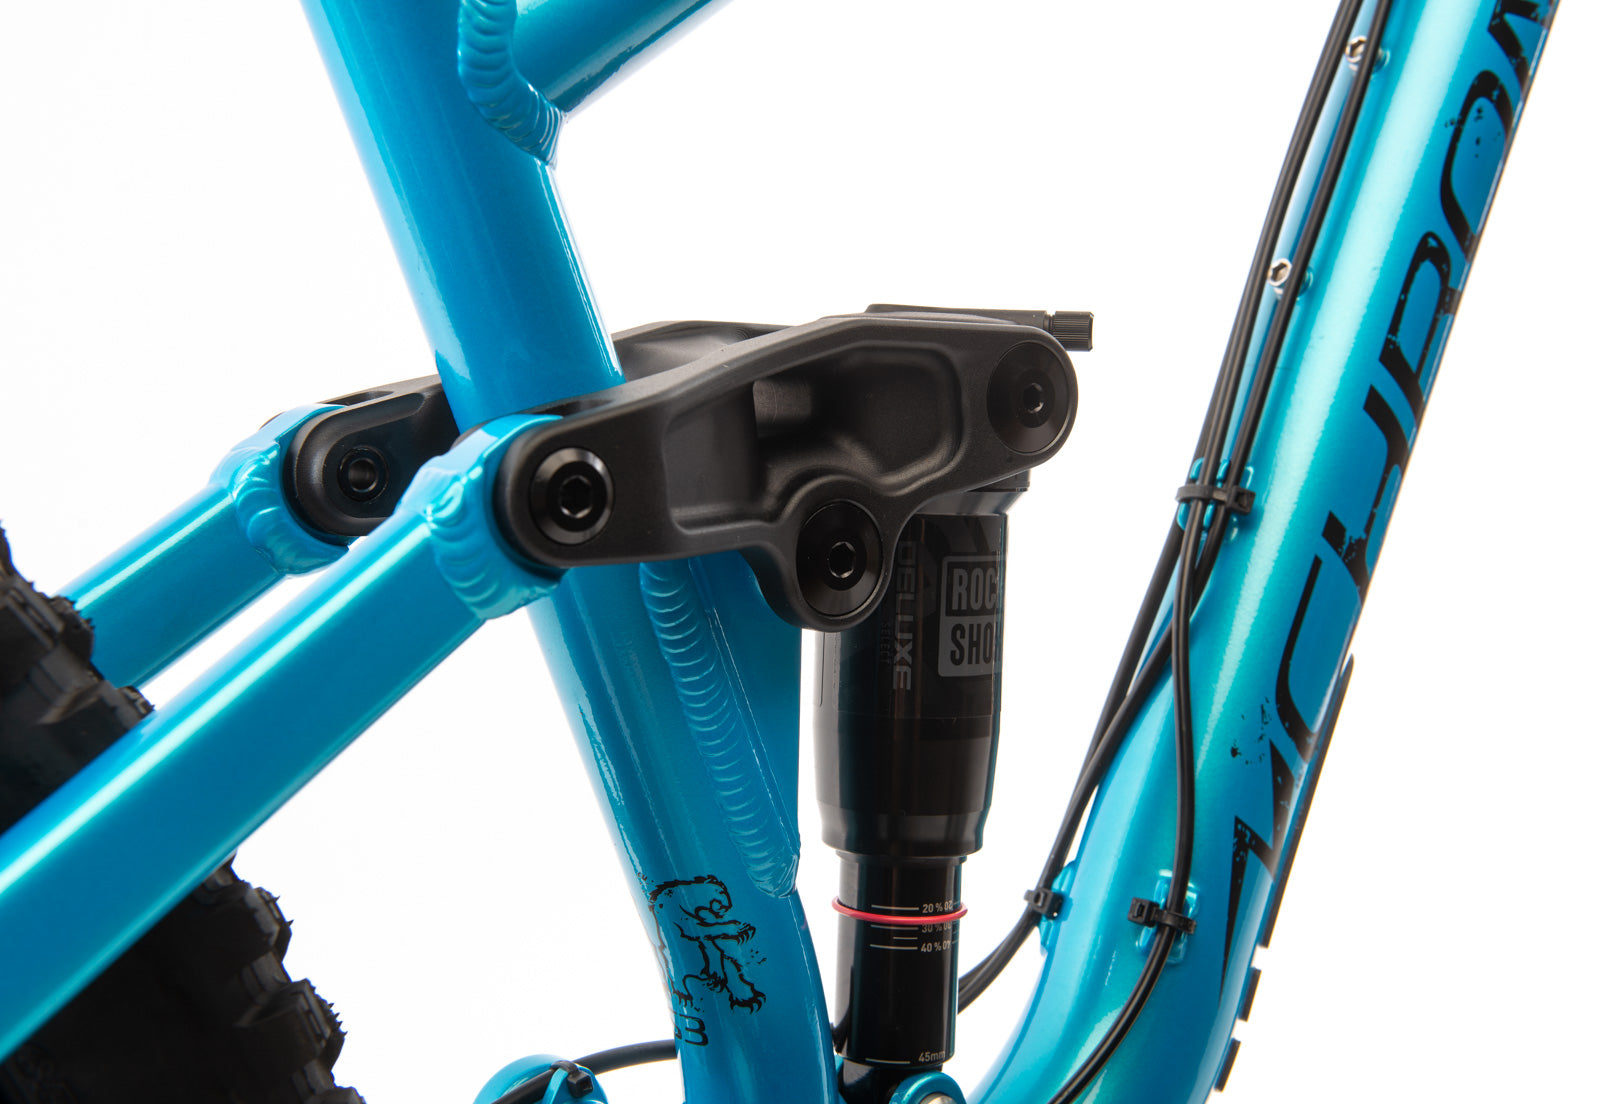
• Shock // Rock Shox Deluxe Select, 165 x 45mm
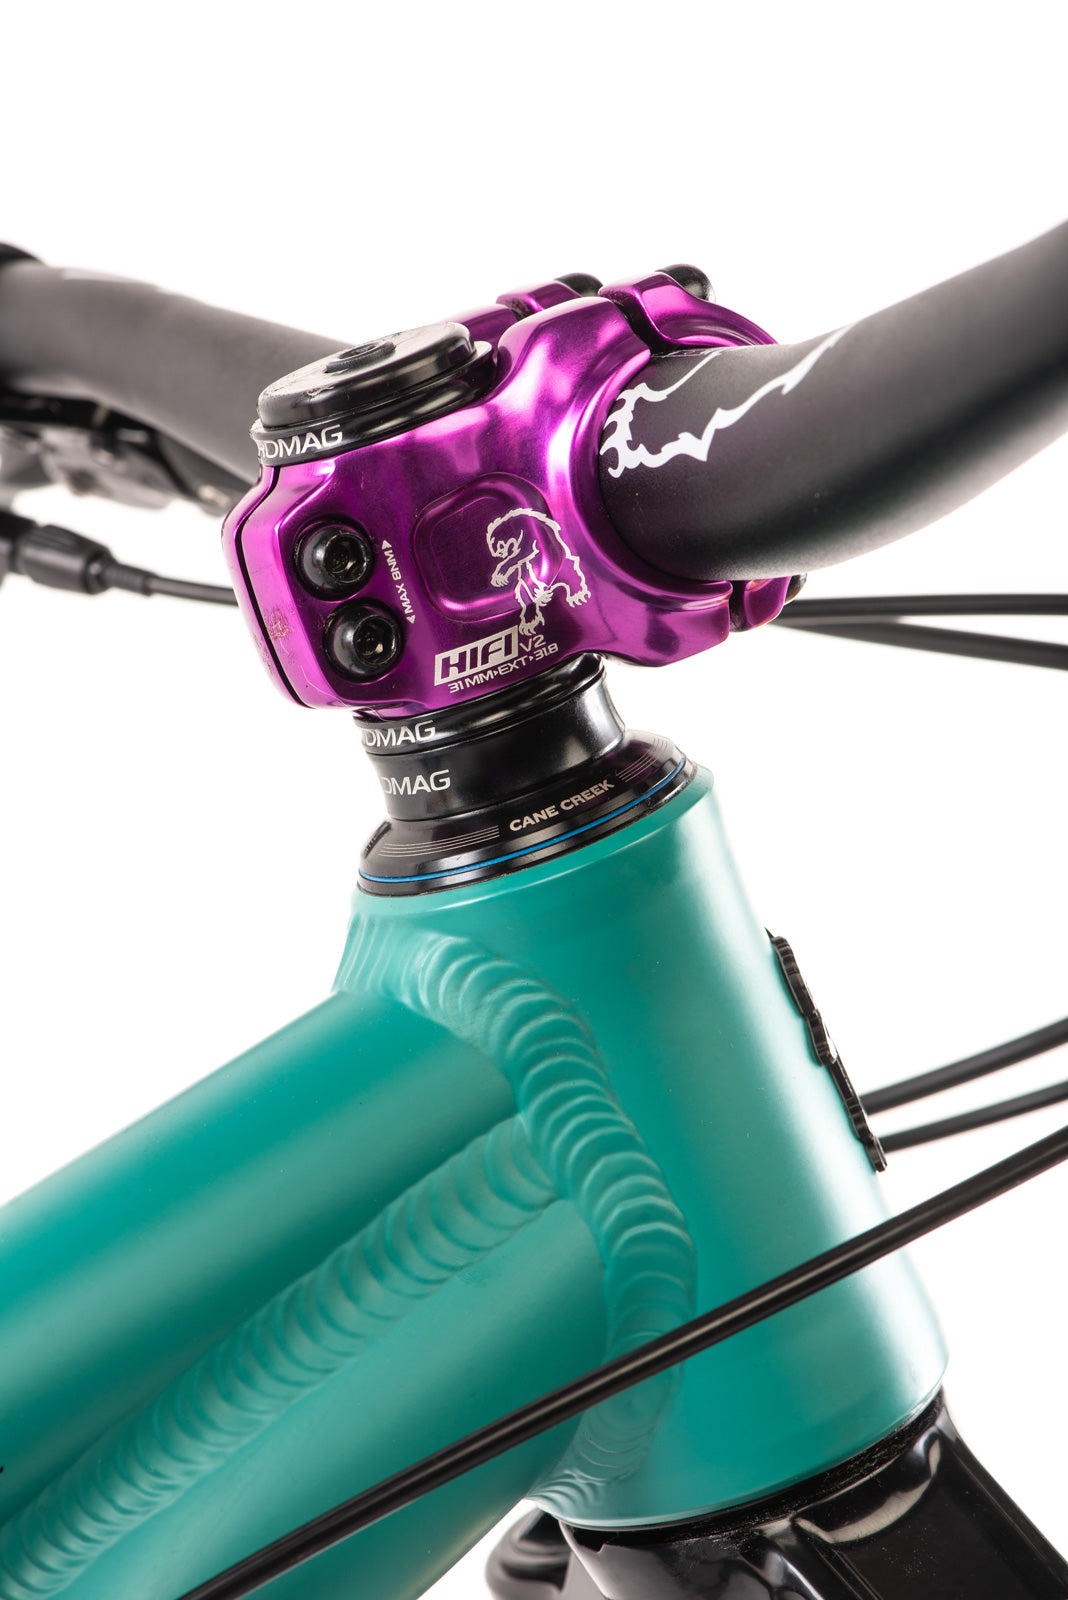
• Stem // Chromag HiFi BSX 31mm
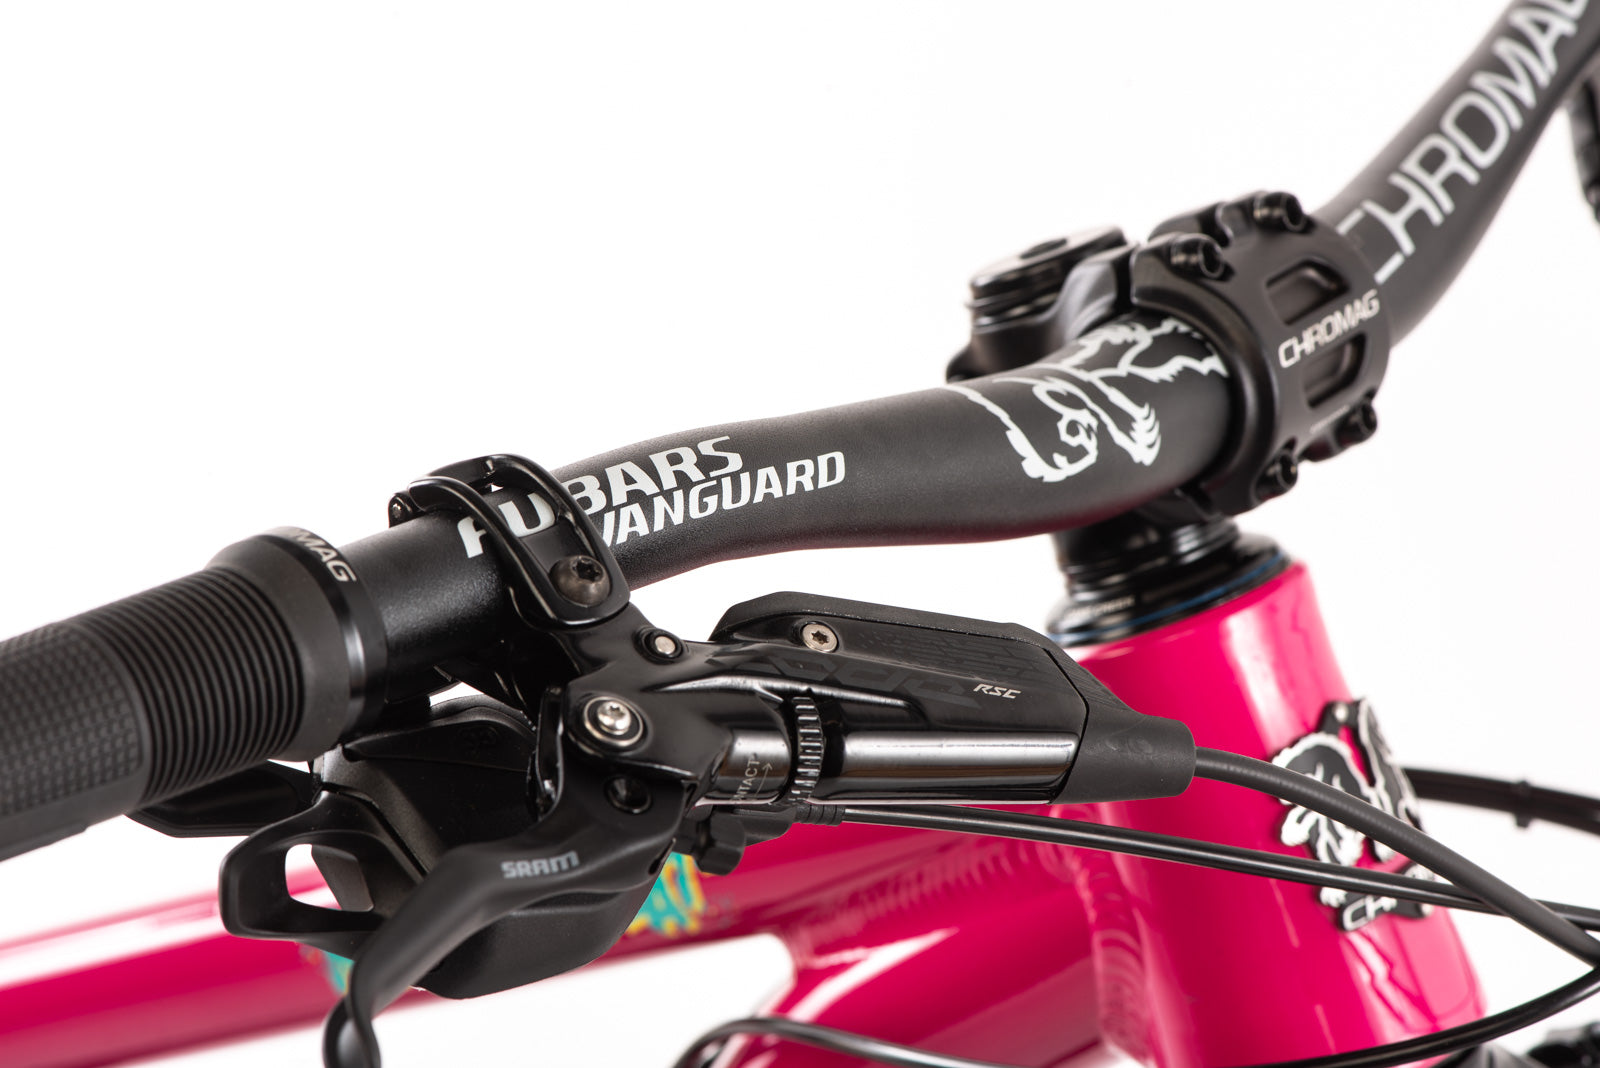
• Handlebar // Chromag Vanguard, 720mm, 31.8mm
• Headset // Cane Creek Forty ZS
• Crank // SRAM X1 Eagle DUB, 155mm, 30t
• Brakes // SRAM Code RSC
• Rotors // SRAM 180mm
• Shifter // SRAM NX Eagle
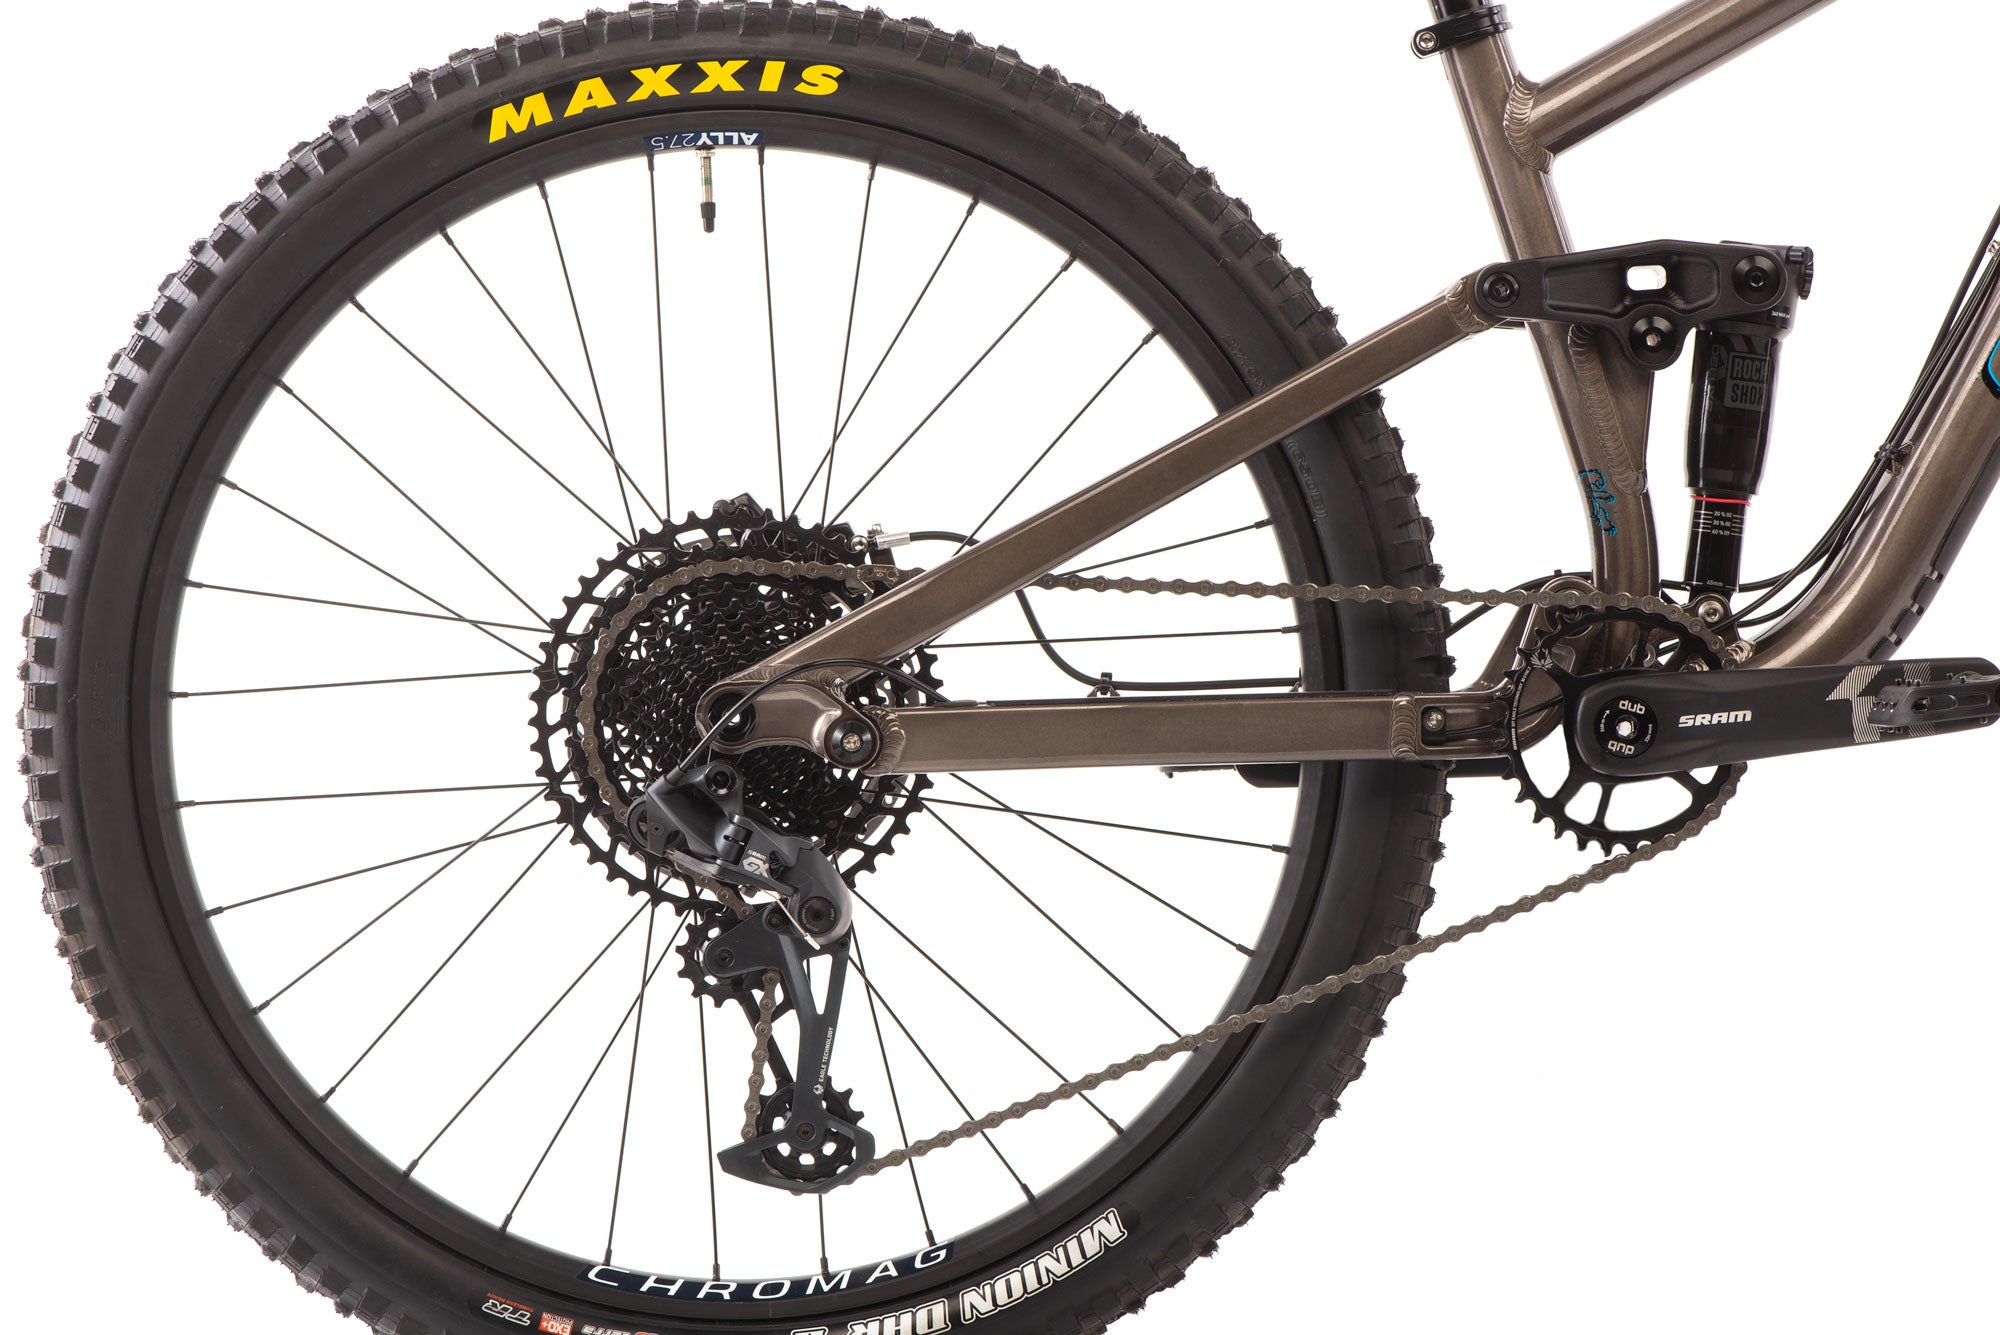
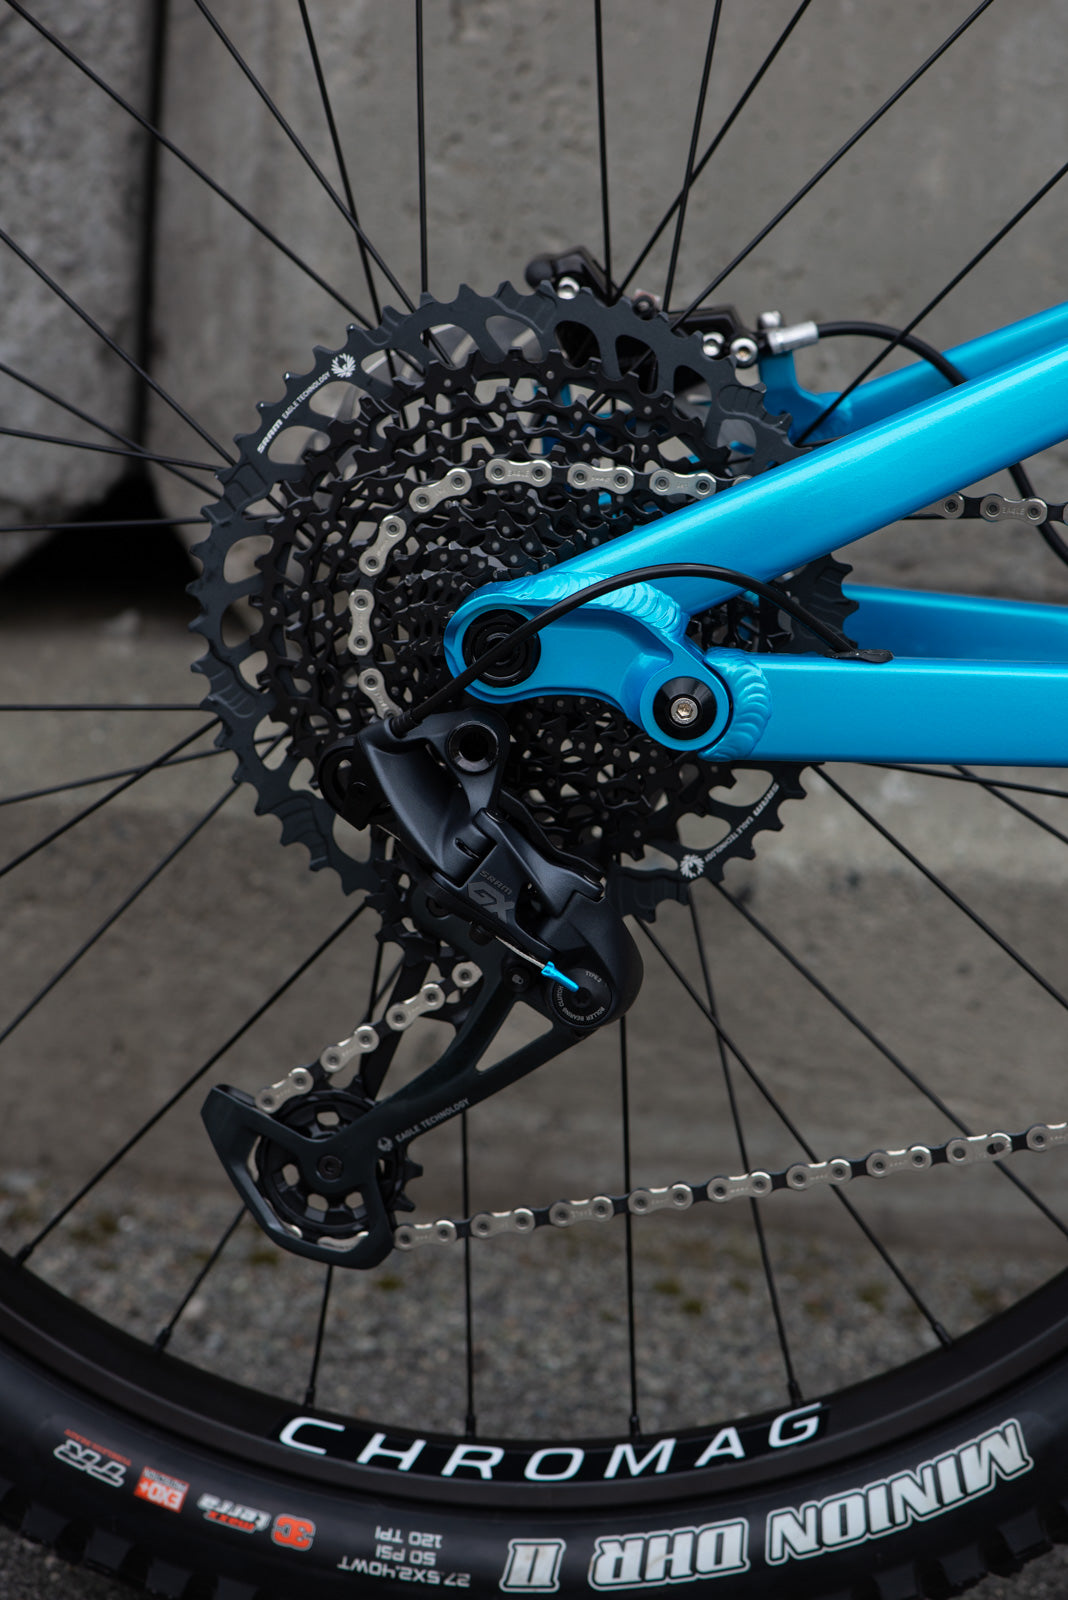
• Cassette // SRAM NX Eagle 10-50t
• Derailleur // SRAM GX Eagle
• Chain // SRAM NX Eagle
• Rims // Chromag Ally
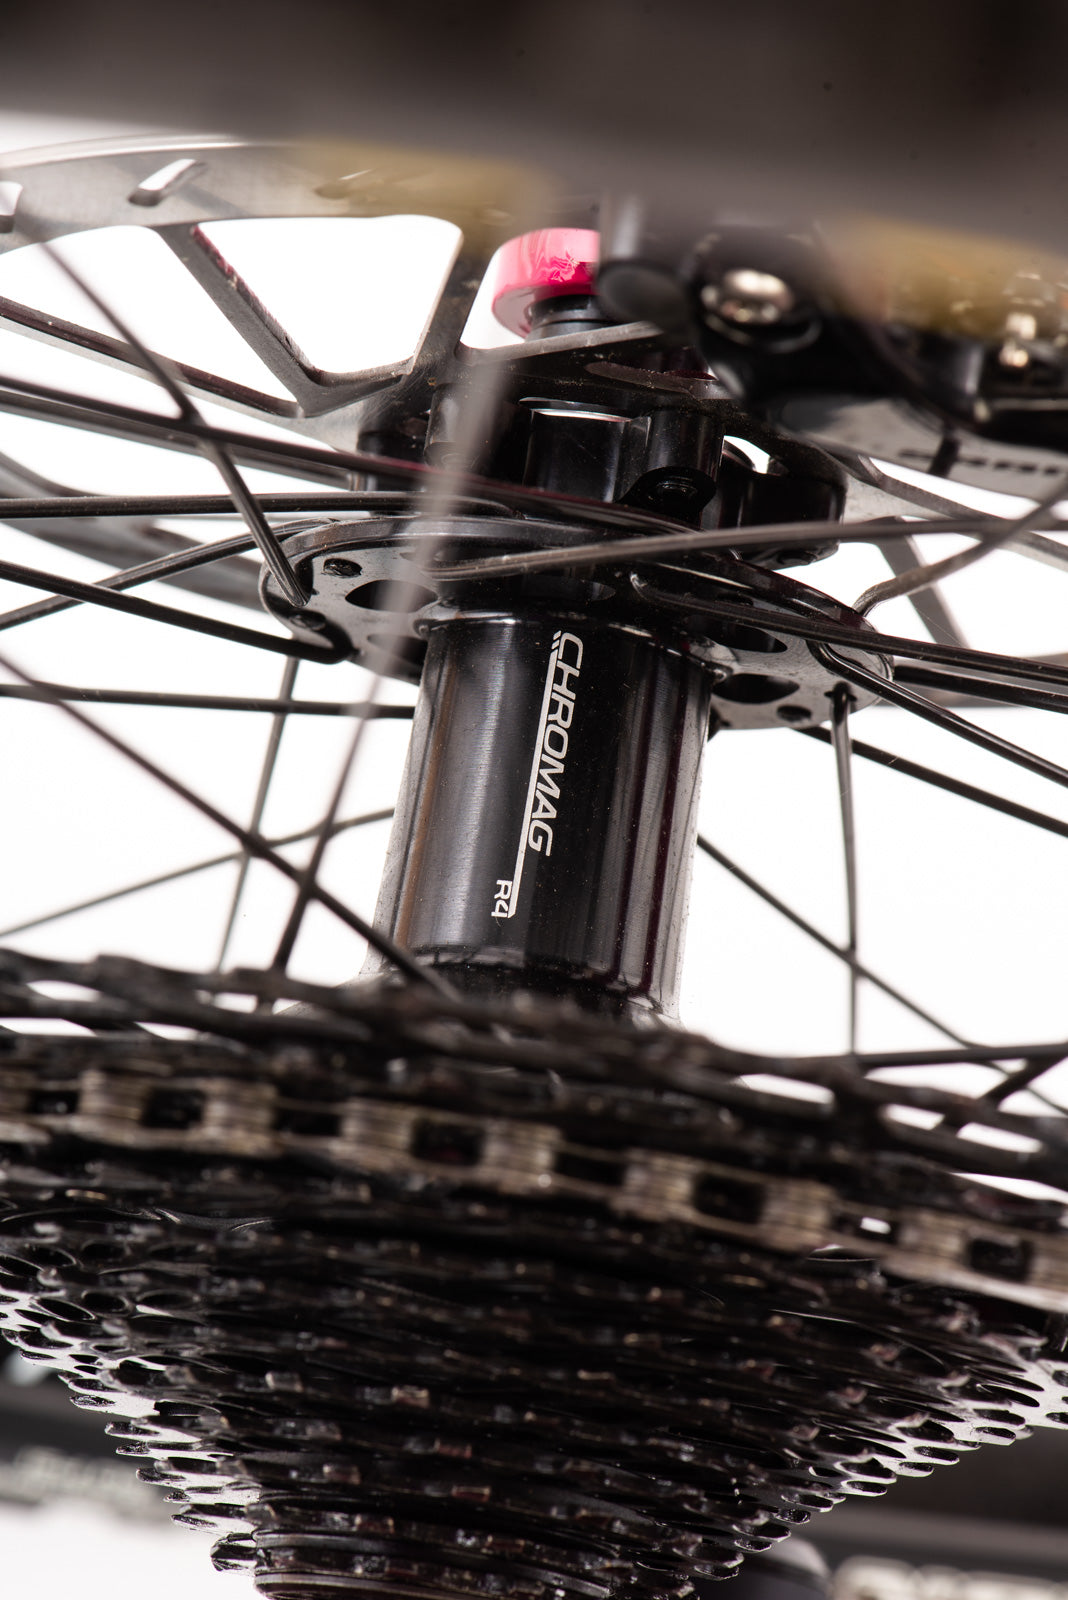
• Hubs // Chromag R4
• Tires // Maxxis Minion DHF/DHRII
• Seatpost // Chromag Bassix
• Saddle // Chromag Overture
• Grips // Chromag Format
• Pedals // Chromag Synth
Build options are subject to availability and liable to change without notice.
• Fork // Rock Shox Lyrik 27.5”, 150mm
• Shock // Rock Shox Deluxe Select, 165 x 45mm
• Stem // Chromag HiFi BSX 31mm
• Handlebar // Chromag Vanguard, 720mm, 31.8mm
• Headset // Cane Creek Forty ZS
• Crank // SRAM X1 Eagle DUB, 155mm, 30t
• Brakes // SRAM Code RSC
• Rotors // SRAM 180mm
• Shifter // SRAM NX Eagle
• Cassette // SRAM NX Eagle 10-50t
• Derailleur // SRAM GX Eagle
• Chain // SRAM NX Eagle
• Rims // Chromag Ally
• Hubs // Chromag R4
• Tires // Maxxis Minion DHF/DHRII
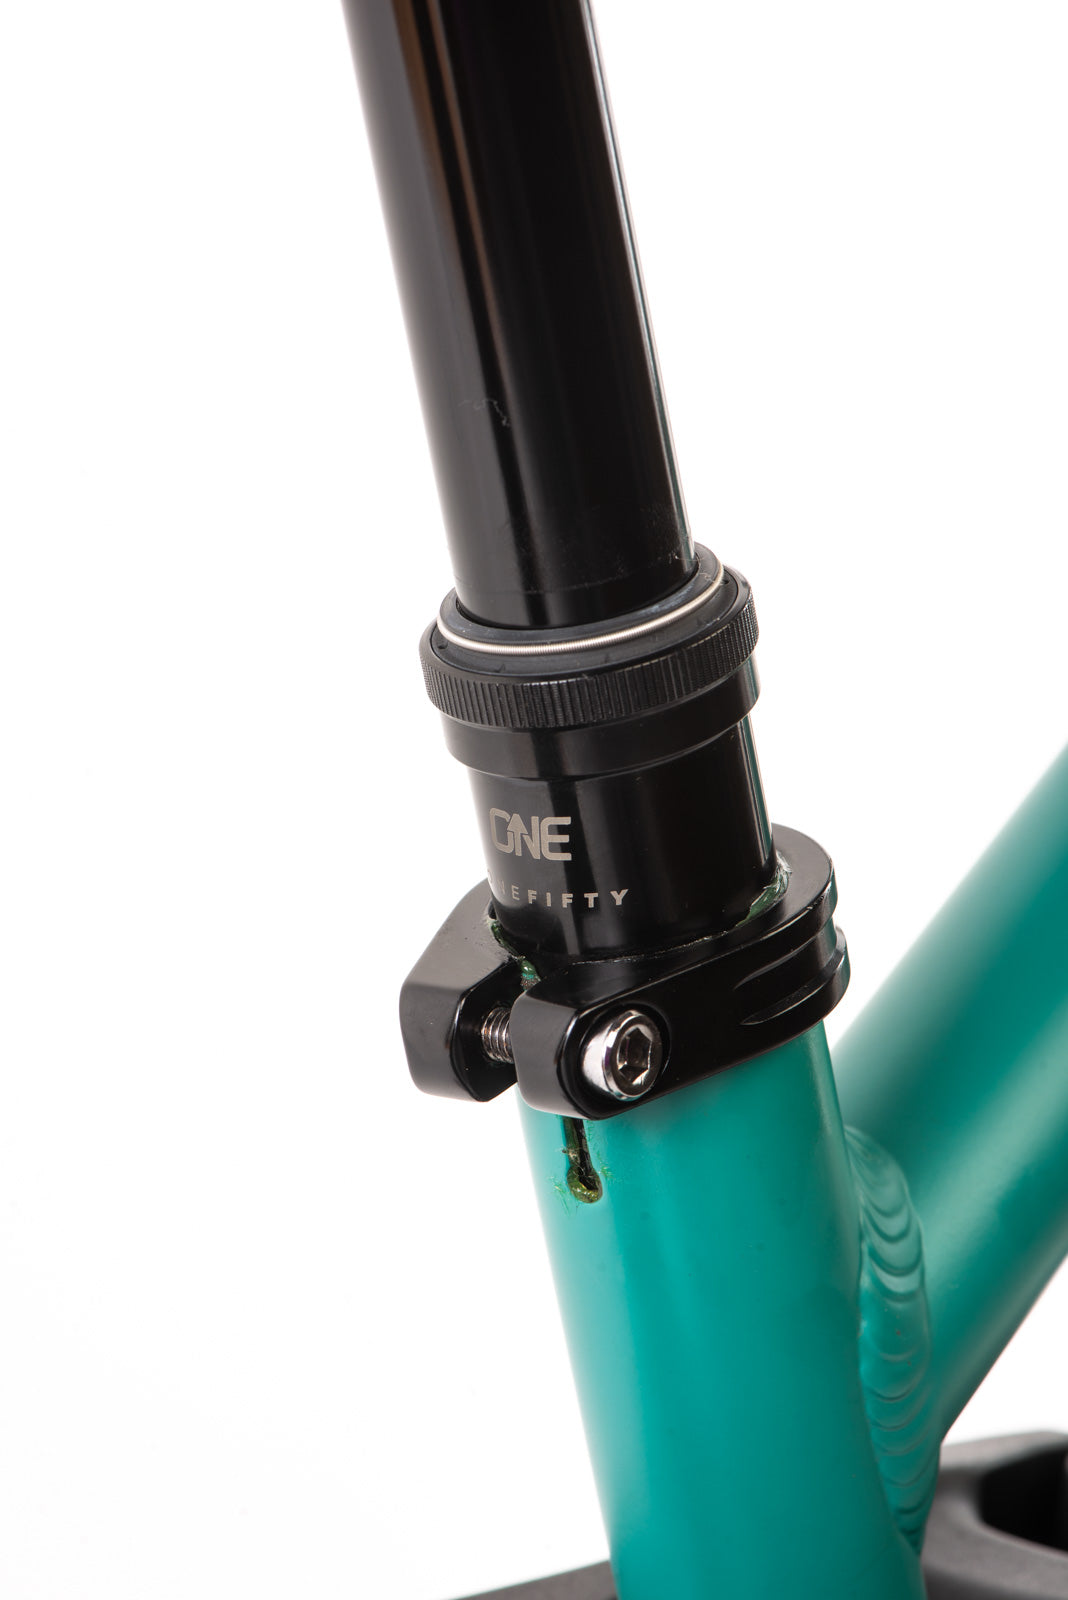
• Seatpost // OneUp Dropper
• Saddle // Chromag Overture
• Grips // Chromag Format
• Pedals // Chromag Synth
Build options are subject to availability and liable to change without notice.
• Fork // Rock Shox Lyrik 27.5”, 150mm
• Shock // Rock Shox Deluxe Select, 165 x 45mm
• Stem // Chromag HiFi BSX 31mm
• Handlebar // Chromag Vanguard, 720mm, 31.8mm
• Headset // Cane Creek Forty ZS
• Crank // SRAM X1 Eagle DUB, 165mm, 30t
• Brakes // SRAM Code RSC
• Rotors // SRAM 180mm
• Shifter // SRAM NX Eagle
• Cassette // SRAM NX Eagle 10-50t
• Derailleur // SRAM GX Eagle
• Chain // SRAM NX Eagle
• Rims // Chromag Ally
• Hubs // Chromag R4
• Tires // Maxxis Minion DHF/DHRII
• Seatpost // OneUp Dropper
• Saddle // Chromag Overture
• Grips // Chromag Format
• Pedals // Chromag Synth
Build options are subject to availability and liable to change without notice.
• Wheel Size // S1 (24”), S2 (26”), S3 (27.5”)
• Rear Travel // 140mm
• Recommended Fork Travel // 140mm (S1), 150mm (S2, S3)
• Material // 6066 Aluminum
• Weight (S2) // Complete: TBD
• Hub Spacing // Boost 148mm
• Headset // 44-56 Semi Integrated
• Seat Clamp Size // 35mm
• Seat Post Size // 31.6mm
• BB // 73mm Threaded
• Hanger // Chromag C1
• Rear Axle // 184mm, M12 X 1.75mm - Boost 148 (Included)
• Shock Size // 165 X 45mm Trunnion
• Lower Shock Hardware // 30 x 8mm
• Brake Mount // 180mm Post Mount
• Frame Origin // Taiwan
The Minor Threat
MATERIAL SELECTION
6066 Aluminum was the best choice for the Minor Threat for a couple of reasons.
Firstly, the use of aluminum allows us to build a bike that’s burly enough to hold up to the bike park without being too heavy for a lighter rider to manage.
Another factor is that aluminum is pretty low-maintenance. With chromoly steel it's quite important to grease your seatpost every couple of months. However, this isn’t as much of issue with an aluminum bike. While unpainted steel is not naturally corrosion-resistant, aluminum is! You should still grease your seatpost (and pretty much every component-to-component interface for that matter) with an aluminum bike, but it’s a little more forgiving to being ridden hard and put away wet.
Just like the rest of our Taiwanese-made frames like the Rootdown, Stylus, and Monk, the Minor Threat is handmade by a team of highly skilled framebuilders in Taiwan, and is held to the same stringent quality control standard that our frames are known for.
Now in it's second iteration, the MTV2 is a finely tuned ride.
key features
Suspension designed, tuned and honed in the Sea to Sky.
suspension kinematics
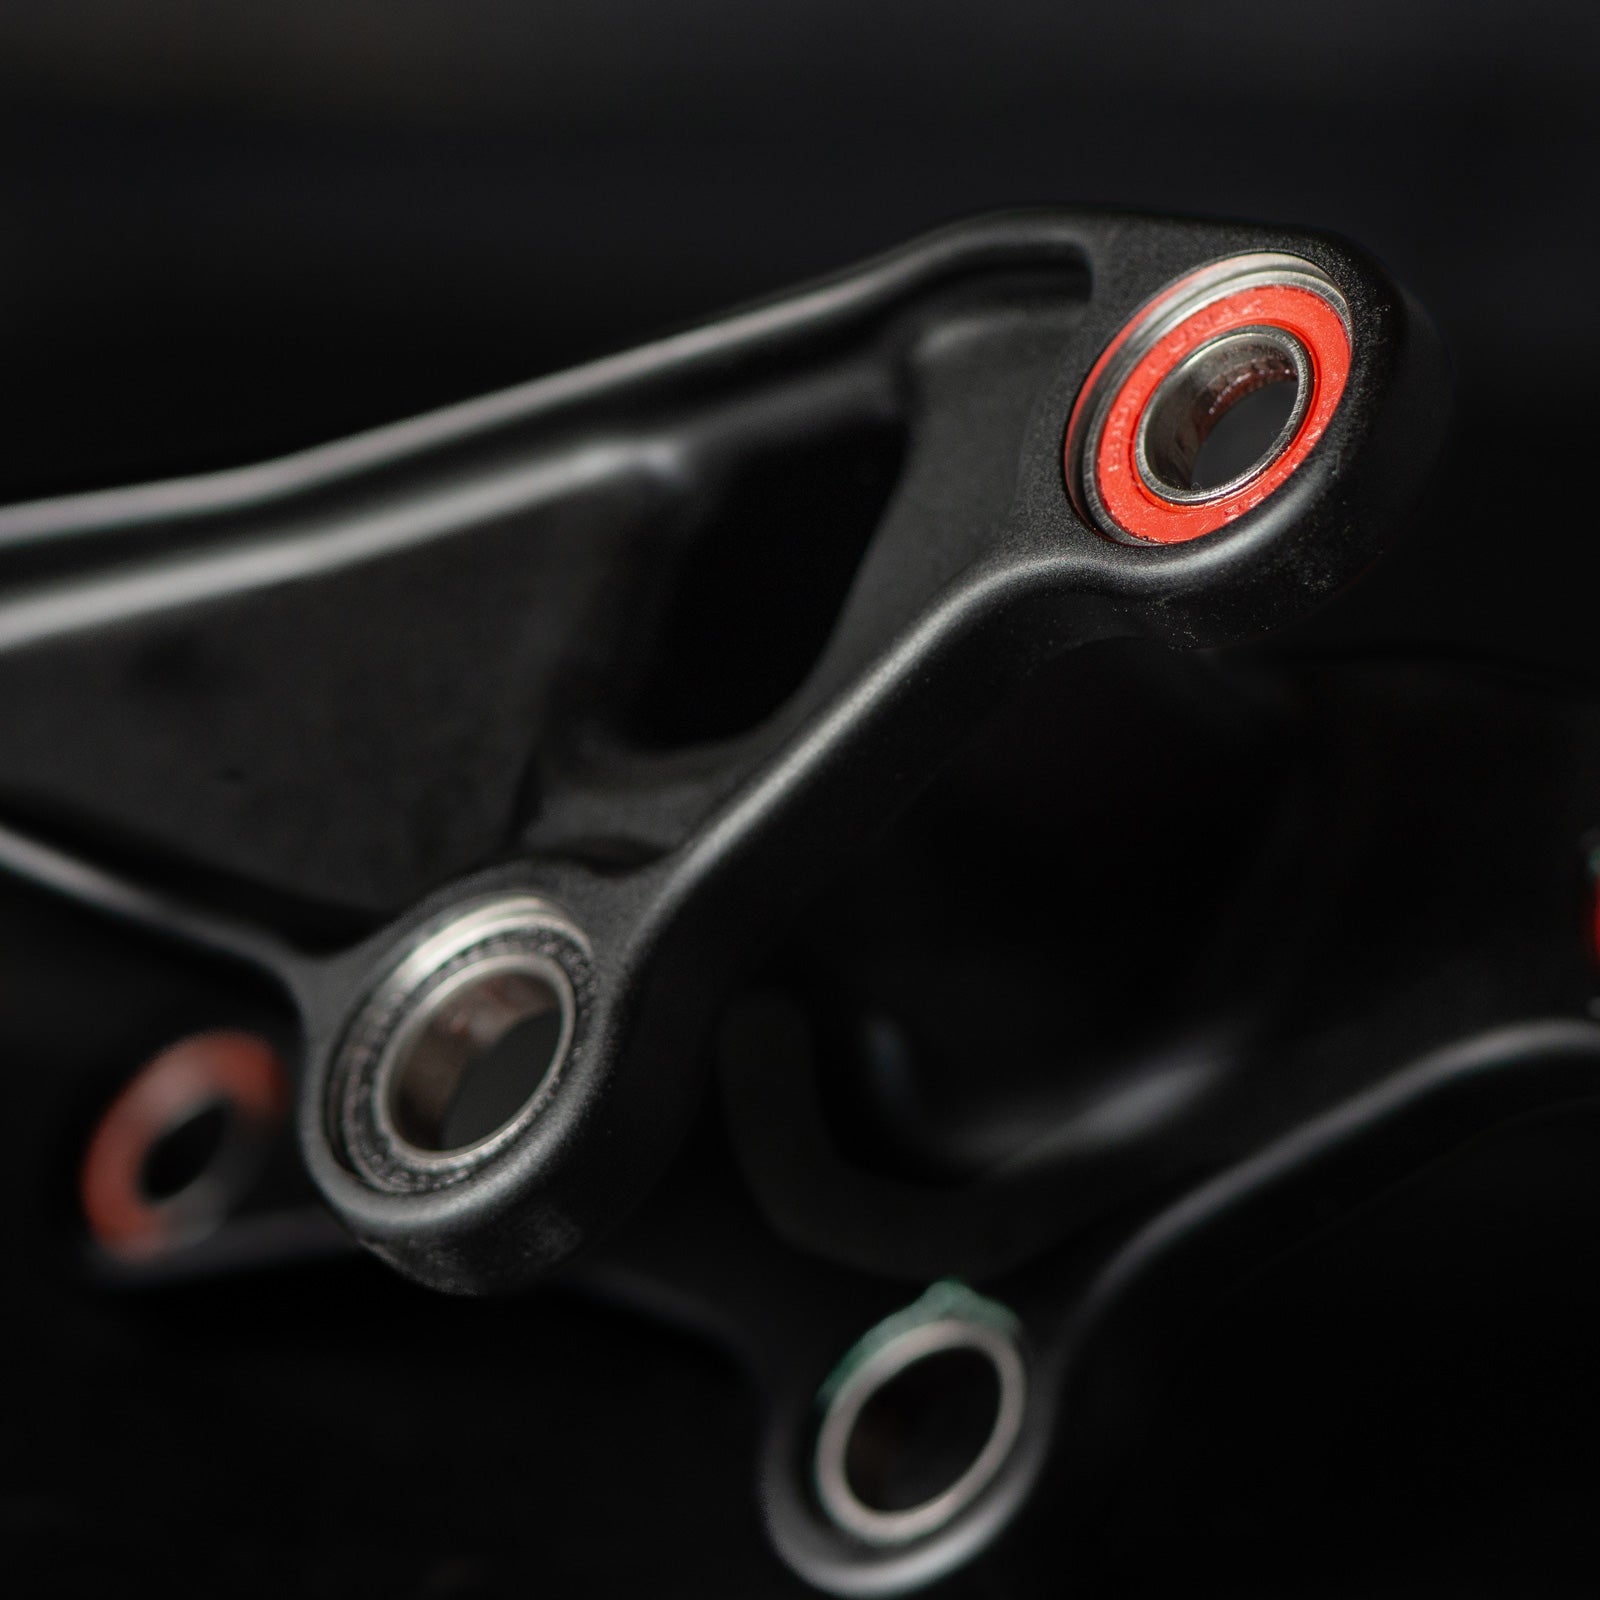
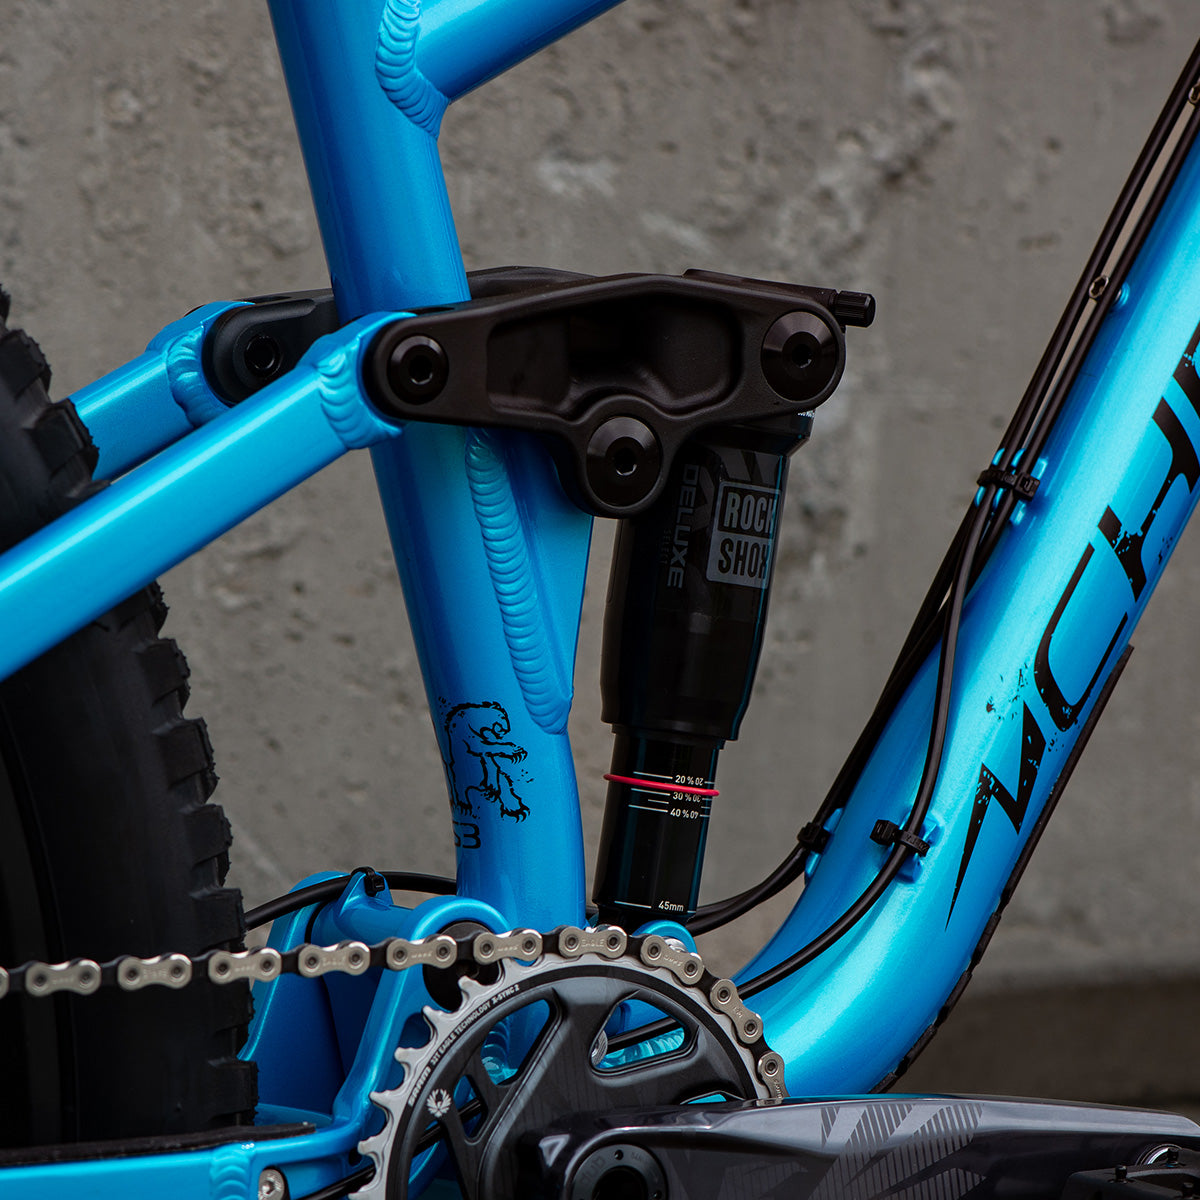
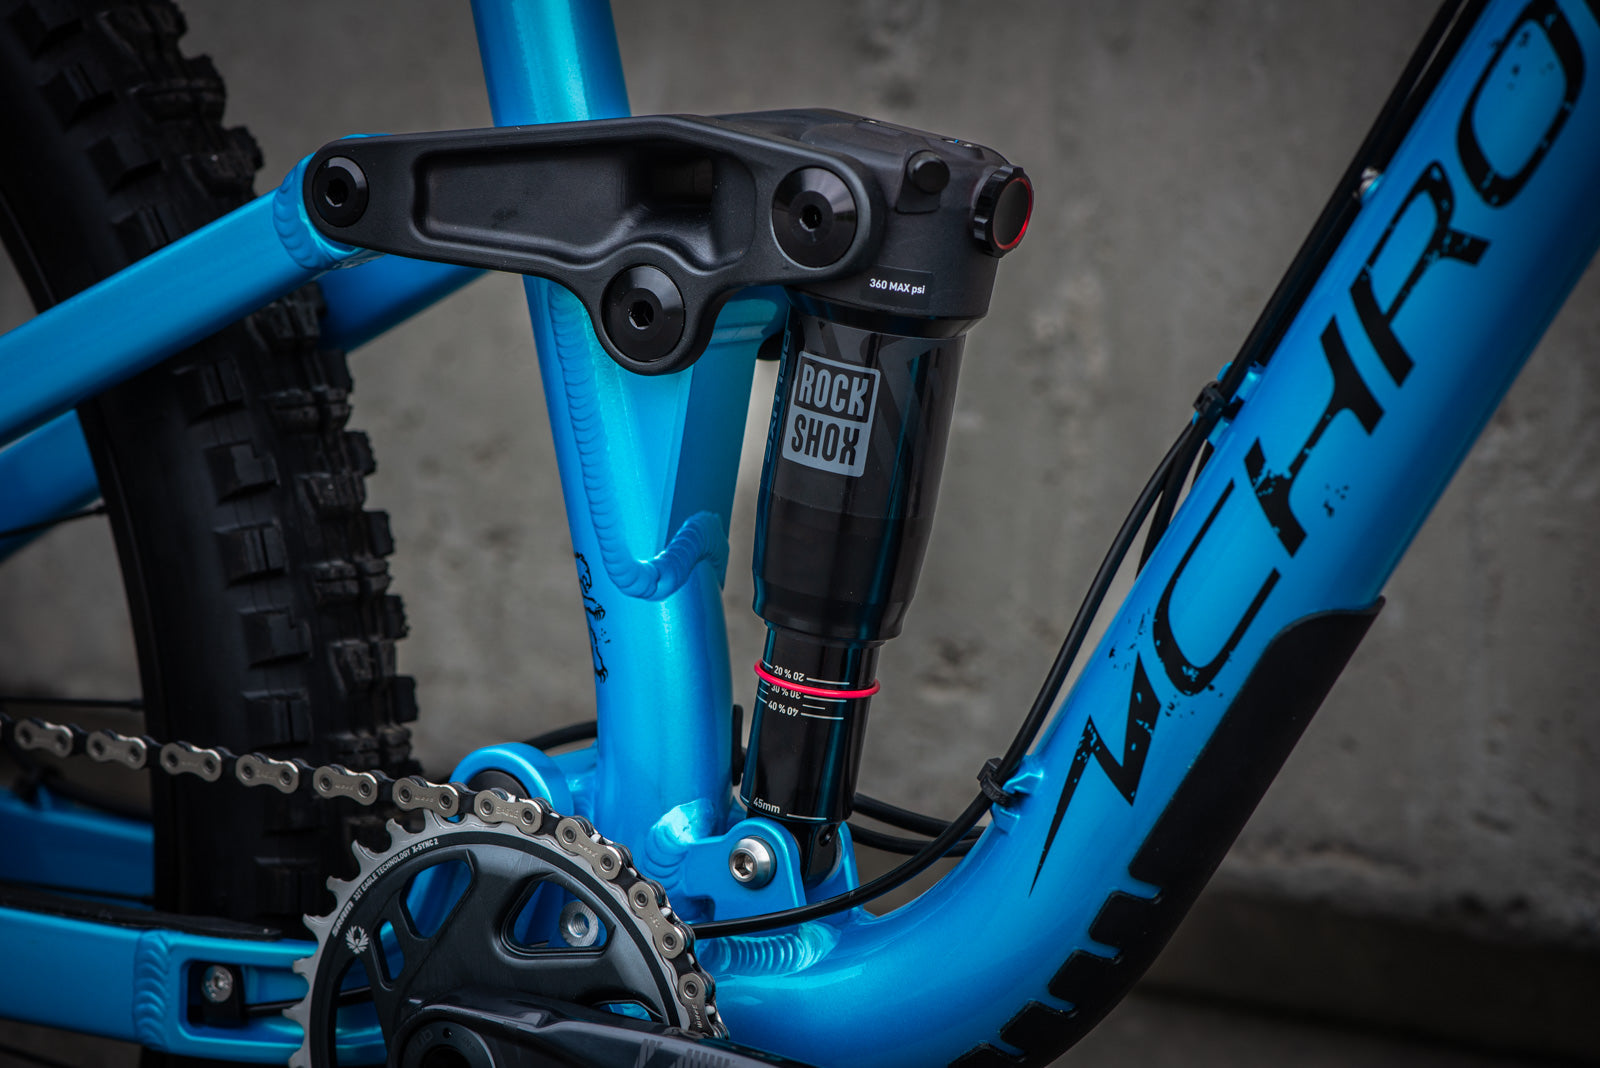
We chose a 4-bar suspension layout for the V2, with a main pivot located just above the bottom bracket, a seattube-mounted rocker link, and a vertically oriented, trunnion-mounted shock. We found this layout to strike a good balance of tuneability, ride quality, and elegant simplicity. A 4-bar layout offered enough tuning parameters for us to design the suspension characteristics the way we wanted them, simultaneously achieving our targets for leverage ratio, progression, anti-squat, and anti-rise.
At the same time, it keeps things simple and intuitive. With no hidden hardware, sliders, or concentric multi-link pivots, every pivot can be accessed, bolt-checked, and worked on without taking the whole bike apart.
Predictable and dependable.
geometry
The Minor Threat continues our geometry philosophy in a kids format. With a low stand over, stable angles and wheelbase the Minor Threat encourages progression.
If your keen enough to want to know the anti squat values for your kids bike we can send you the geek sheet, please reach out.
| Frame Size | S1 (24")Typical Rider Height: 128cm - 140cm | S2 (26")Typical Rider Height: 138cm - 150cm | S3 (27.5")Typical Rider Height: 148cm - 160cm |
|---|---|---|---|
| 546 | 571 | 571 | |
| 360 | 400 | 420 | |
| 486 | 532 | 552 | |
| 95 | 95 | 95 | |
| 1077 | 1140 | 1170 | |
| 8 | 15 | 15 | |
| 309 | 333 | 344 | |
| 606 | 655 | 690 | |
| 410 | 420 | 430 | |
| 305 | 330 | 355 | |
| 210 | 235 | 260 | |
| 64 | 64 | 64 | |
| 77 | 77 | 77 | |
| 24" | 26" | 27.5" |
* Max. post insertion based on Rockshox Reverb


THIS IS AN APPROXIMATE GUIDE, SOME PEOPLE HAVE LONGER LEGS THAN OTHERS!
Sizing
We decided to make three frame sizes because reach, stack and wheelbase are a much better assessment of bike fit than wheel size alone.
These bikes are spec'd just as we would for ourselves, so there's no reason smaller adults couldn't ride the S3.
We don't recommend switching the wheel sizes between S1,2 & 3 as you are merely making the bike taller and raising the center of gravity, rather than increasing the actual bike size.
You could also check out the review section, to see how this bike fits other people.
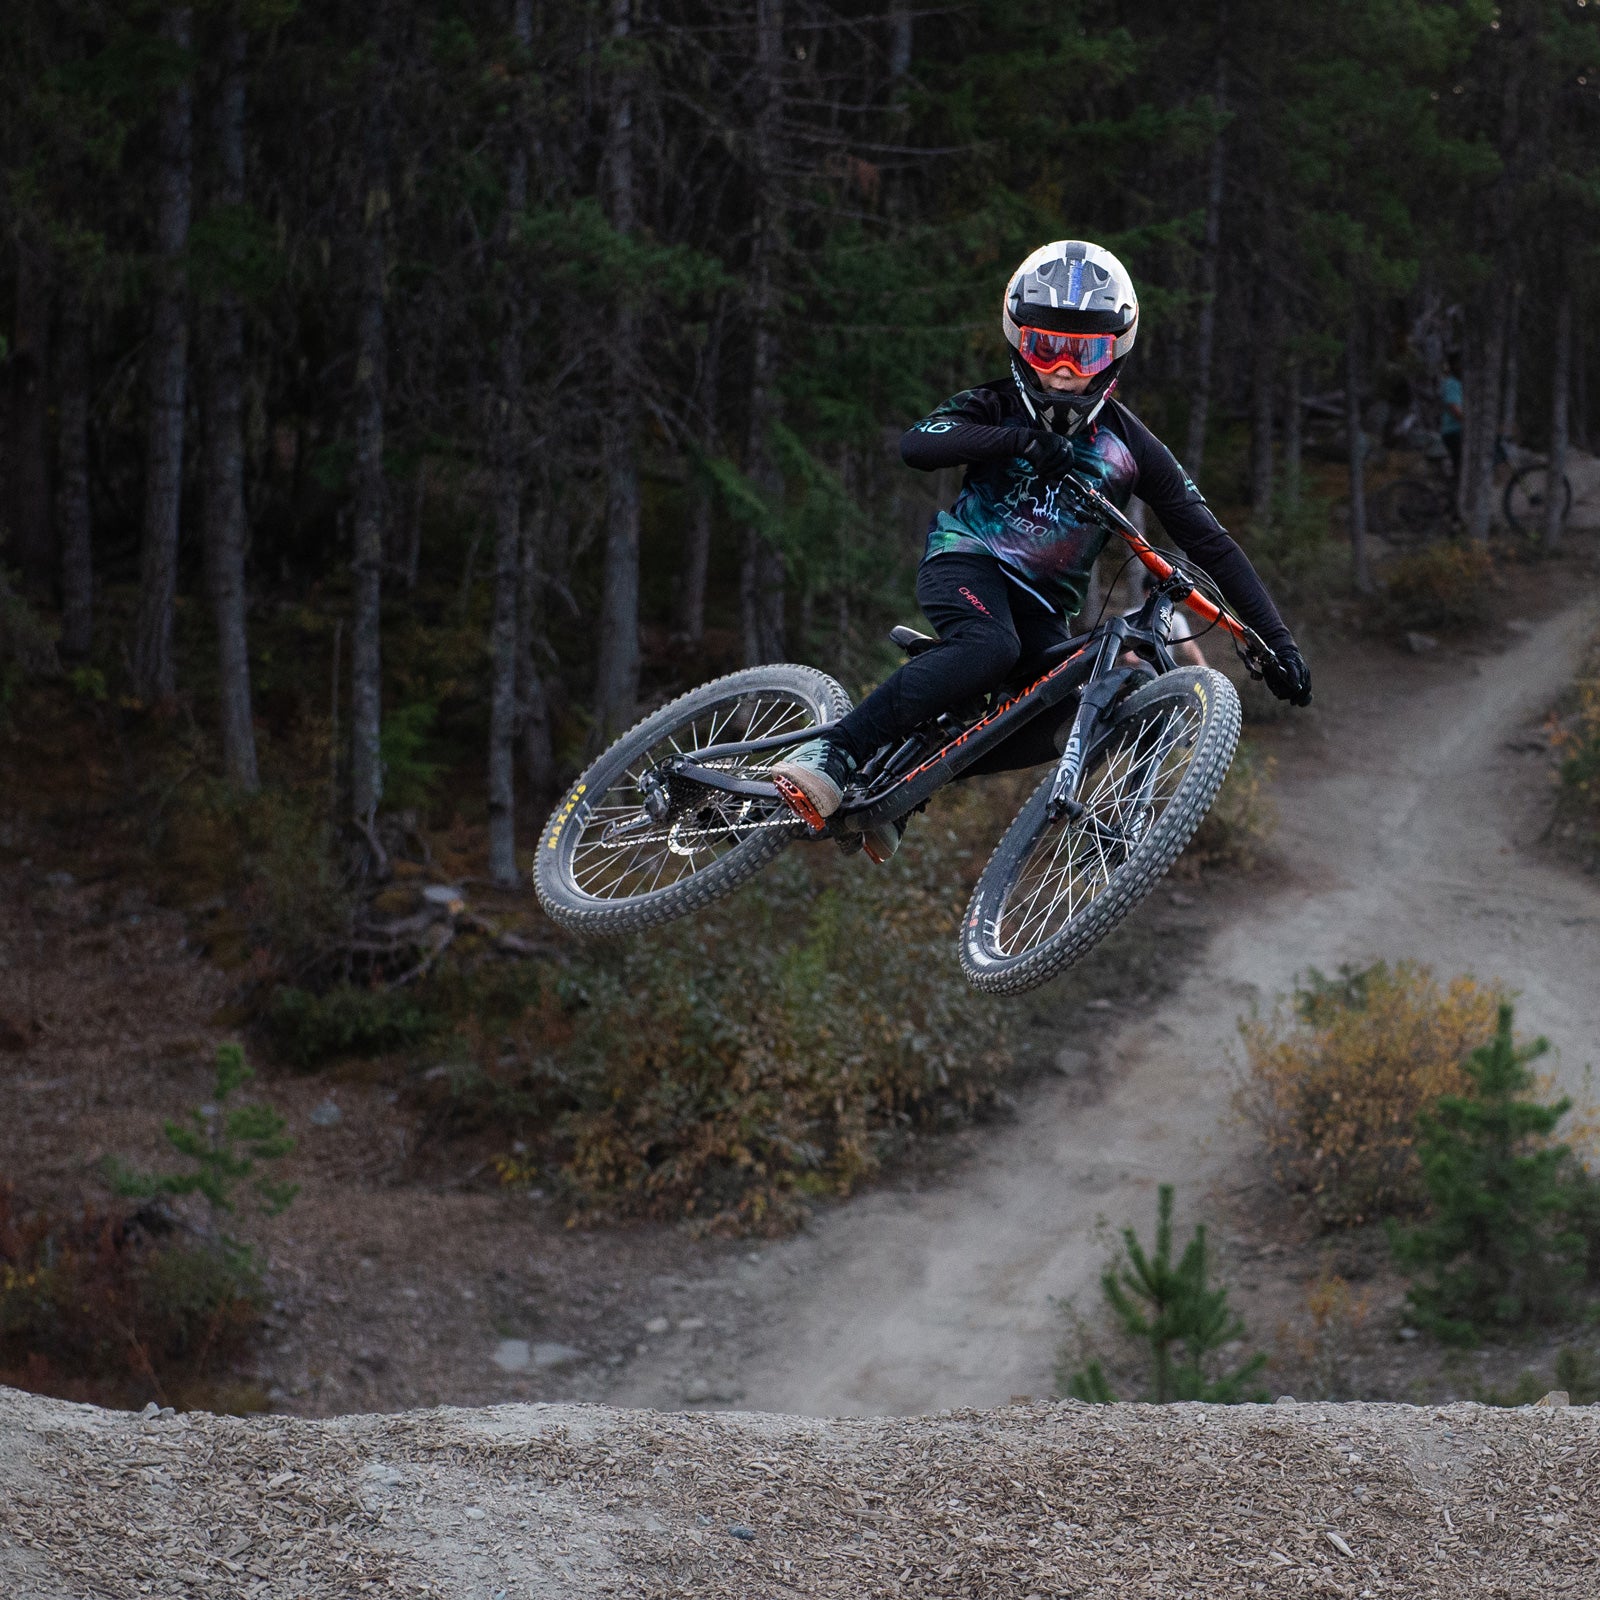
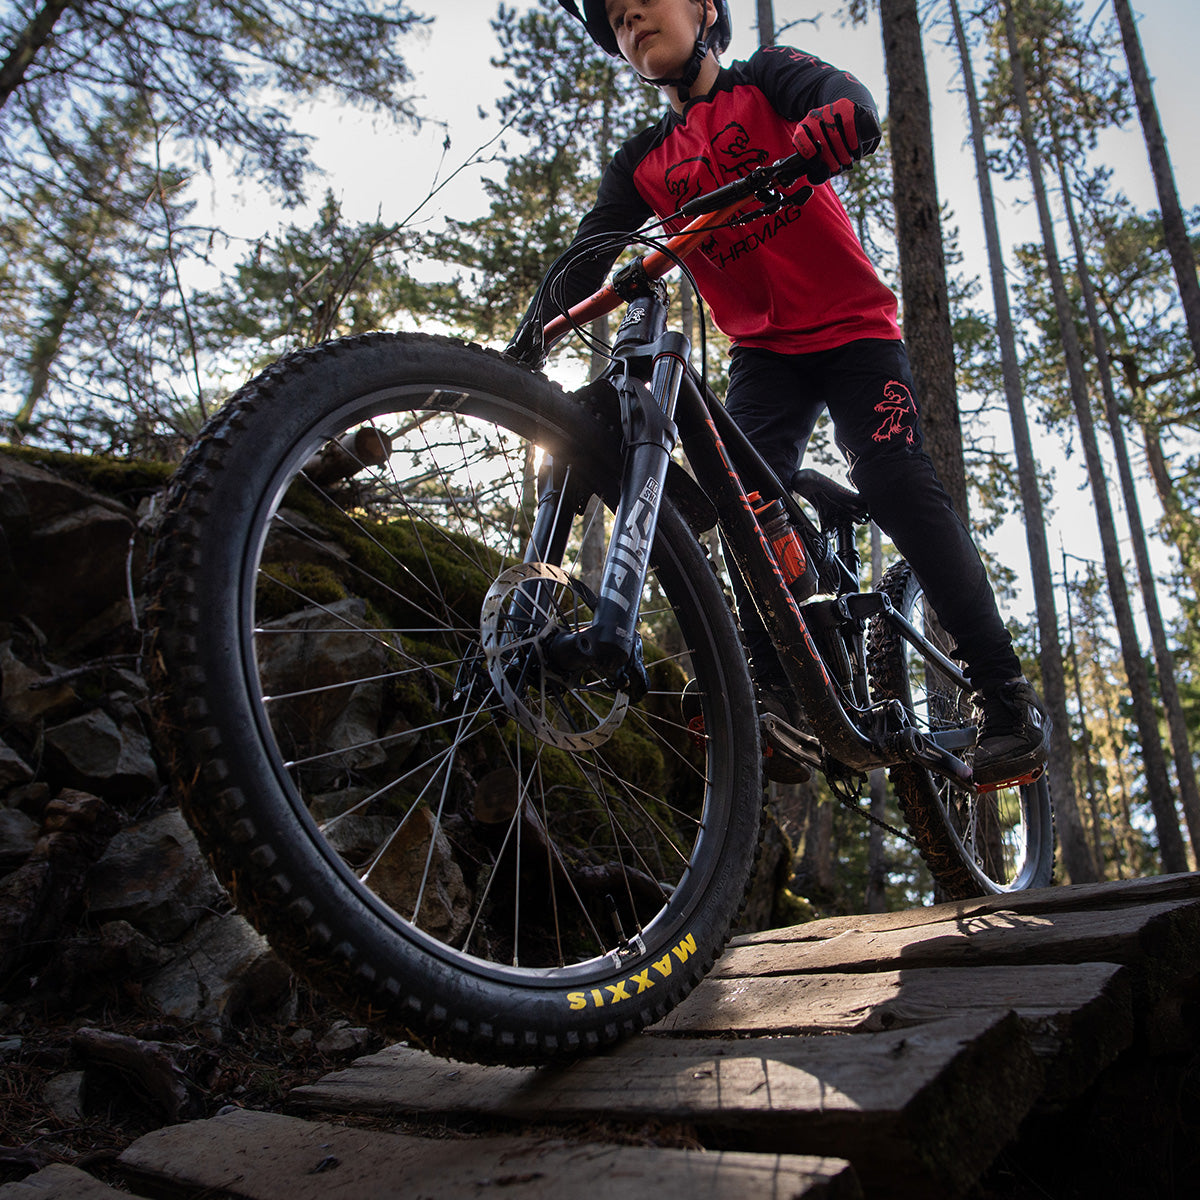
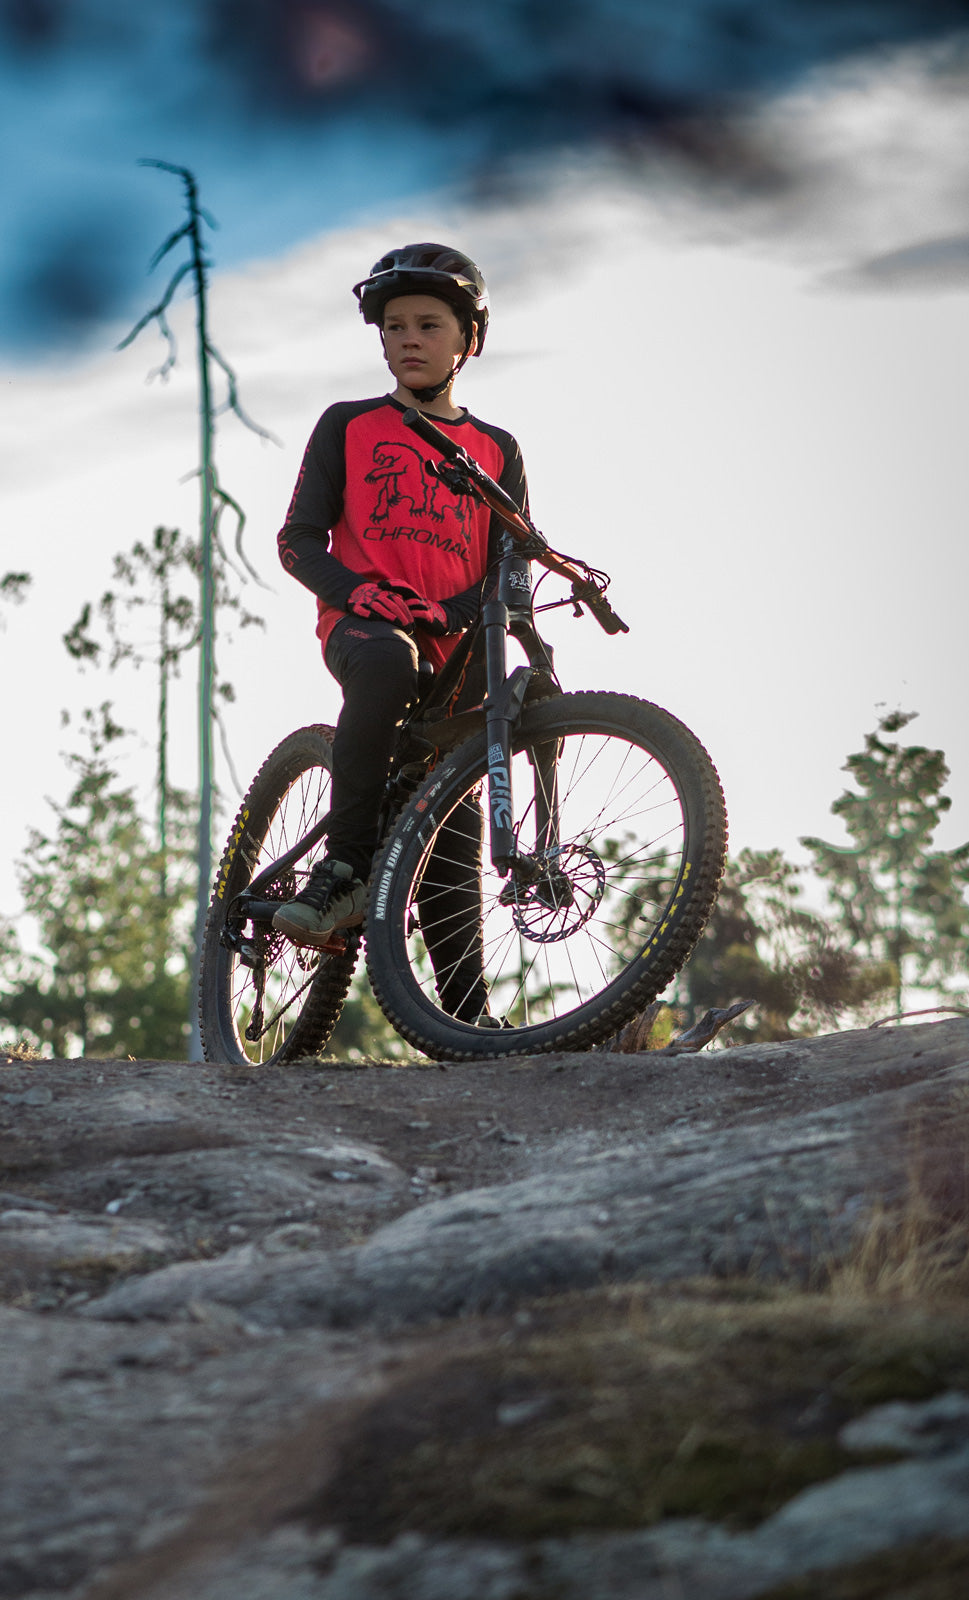
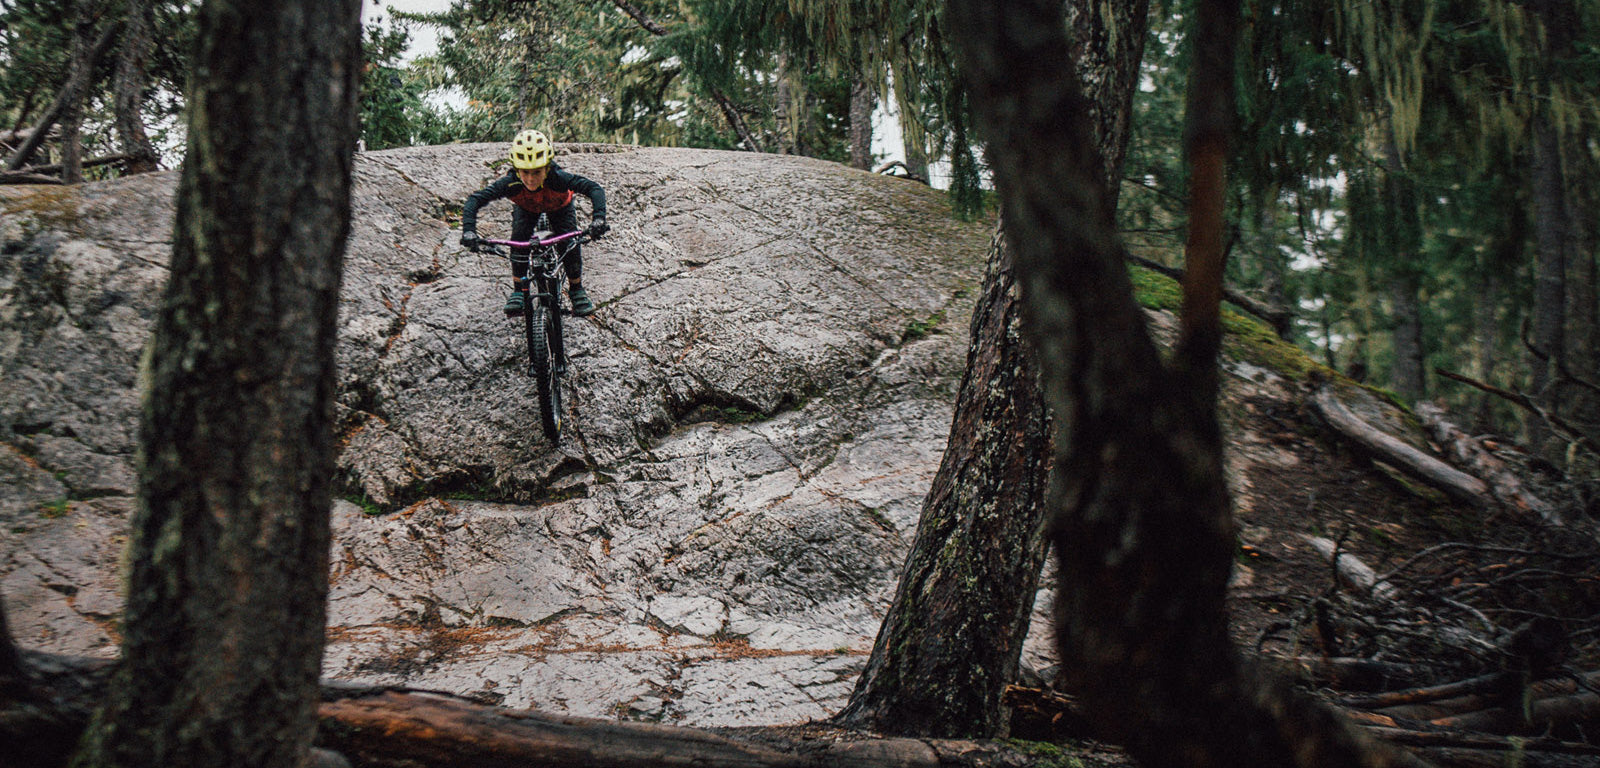
The MTV2 in action.
gallery
FAQ's
Yes, you can run a ‘piggy back’ style air shock such as a Super Deluxe. We do not recommend fitting a coil shock as the characteristic and easy adjustability of an air shock works better for this bike and the changing size and weight of the rider. Fitting this type of shock will limit and possibly prevent water bottle fitment.
No. The bike is designed for the length and stroke shock we spec. A longer shock (eye to eye or stroke) would create clearance issues (contact) between the tire and seat tube or the shock and front triangle. The 45mm stroke is also the longest available stroke for a 165mm shock fitted.
It is possible to run different sized wheels between the different frame sizes. However the effect of this is often not what the customer is seeking. Changing the wheel size or adding a larger front wheel won’t help it fit your growing child much better. The resale of kid’s bikes are very strong, it is often cheaper and gives a better result to sell and upgrade.
This is what will physically fit:
S1: 24, 26”
S2: 24, 26, 27.5”
S3: 24, 26, 27.5”
Note that fitting a 24” wheel to a S3 would really mess up the geo and make pedal strikes very common. It is not recommended to change wheel size and certainly not by more than one ‘increment’.
There is plenty of room around a Maxxis 2.5 tire.
Yes, there is an ISCG 05 mount for this, the chain line is 52mm (standard boost) which is possible with any good guide.
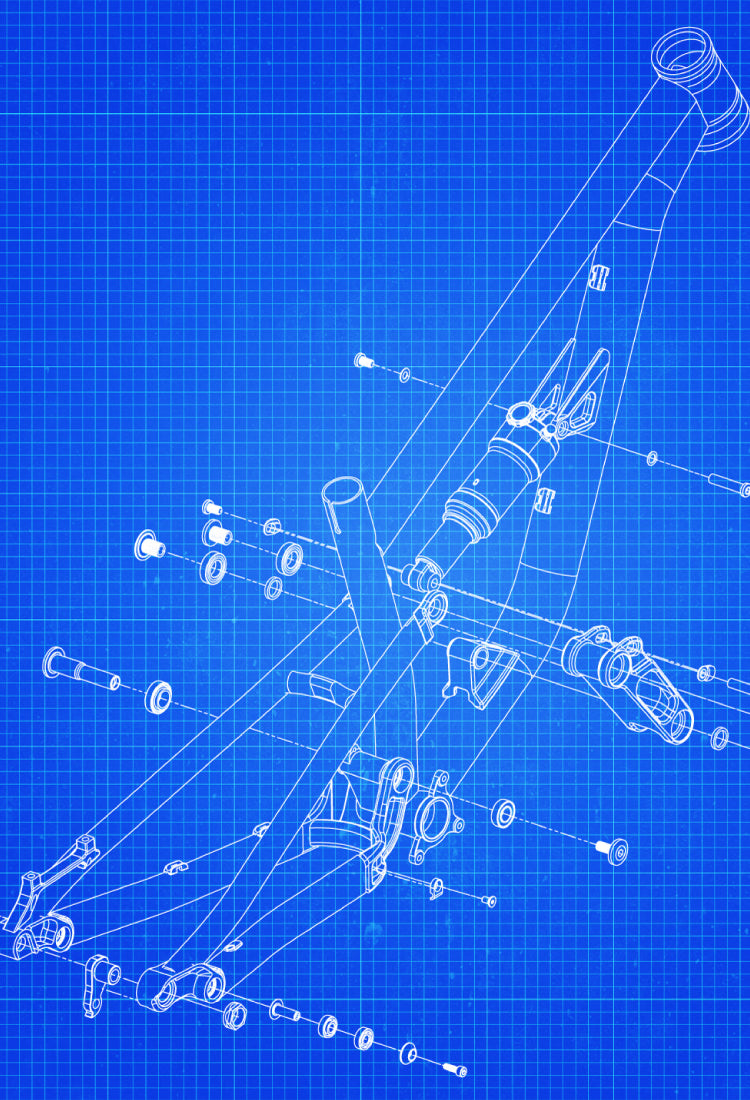
All bearings are surrounded, where possible, by large flat surfaces making removal and refitting far easier. There is access to the outer race of all bearings so if a bearing inner race comes out leaving the outer behind it is still possible to remove the outer with simple tools. See exploded diagrams in the tech pack for more info.
If you’re not comfortable removing/installing your own bearings, we strongly recommend bringing your bike to a local bike shop. It’s possible to damage your bike beyond repair if you improperly remove/install your bearings. Such damage would not be covered under our warranty policy.
The Darco uses a boost rear end (148mm). As such, the chain line should reflect this, typically 51-54mm or a 3mm offset on the chain ring if running
SRAM.
A 34t will fit with a standard boost chain line.
Download the tech pack here for all the juicy details.
Check out this guide..
Not much! You can read in depth about it here, but in short:
• Inflate tires to desired pressure. (Sealant is already installed)
• Install brake rotors, tightening bolts to 6.2Nm.
• Attach derailleur to frame, tightening to 9Nm making sure that the B-tension tab rests properly against the derailleur hanger stop.
• Grease headset bearings, install fork and handlebar, positioning the headset spacers above or below the stem according to rider fit.
• Align handlebar stem, preload headset and tighten stem pinch bolts to 8Nm.
• Install wheels, tighten axles.
• Install chain with quick link.
• Grease pedal threads and install pedals using pedal washers supplied.
• Adjust brakes, shifters, saddle position and height for personal preference.
• Set up suspension.
• Bed-in brakes. (Roll down a gentle gradient dragging one brake at a time. Avoid locking them up.)
• Go ride!
Note: If you had to Google "Nm", or you don't know which way to install your rotors, you should probably get a qualified mechanic to build your bike!
• Chain length adjusted.
• Gears adjusted.
• Brakes set up and bled.
• Handlebar tightened to 6Nm.
• Grips tight on handlebar.
• Crankset tight, bottom bracket tight/adjusted.
• Saddle and seatpost tight.
• Seatpost greased *make sure to re-grease every 6 months!
• Tire sealant installed.
• Cassette tight.

